The Ultimate Space-Saving Hack: How to Build a Clever In-Wall Cabinet
Unlock hidden storage space! Learn how to build a clever DIY in-wall cabinet with our step-by-step guide. A perfect weekend project to reduce clutter.

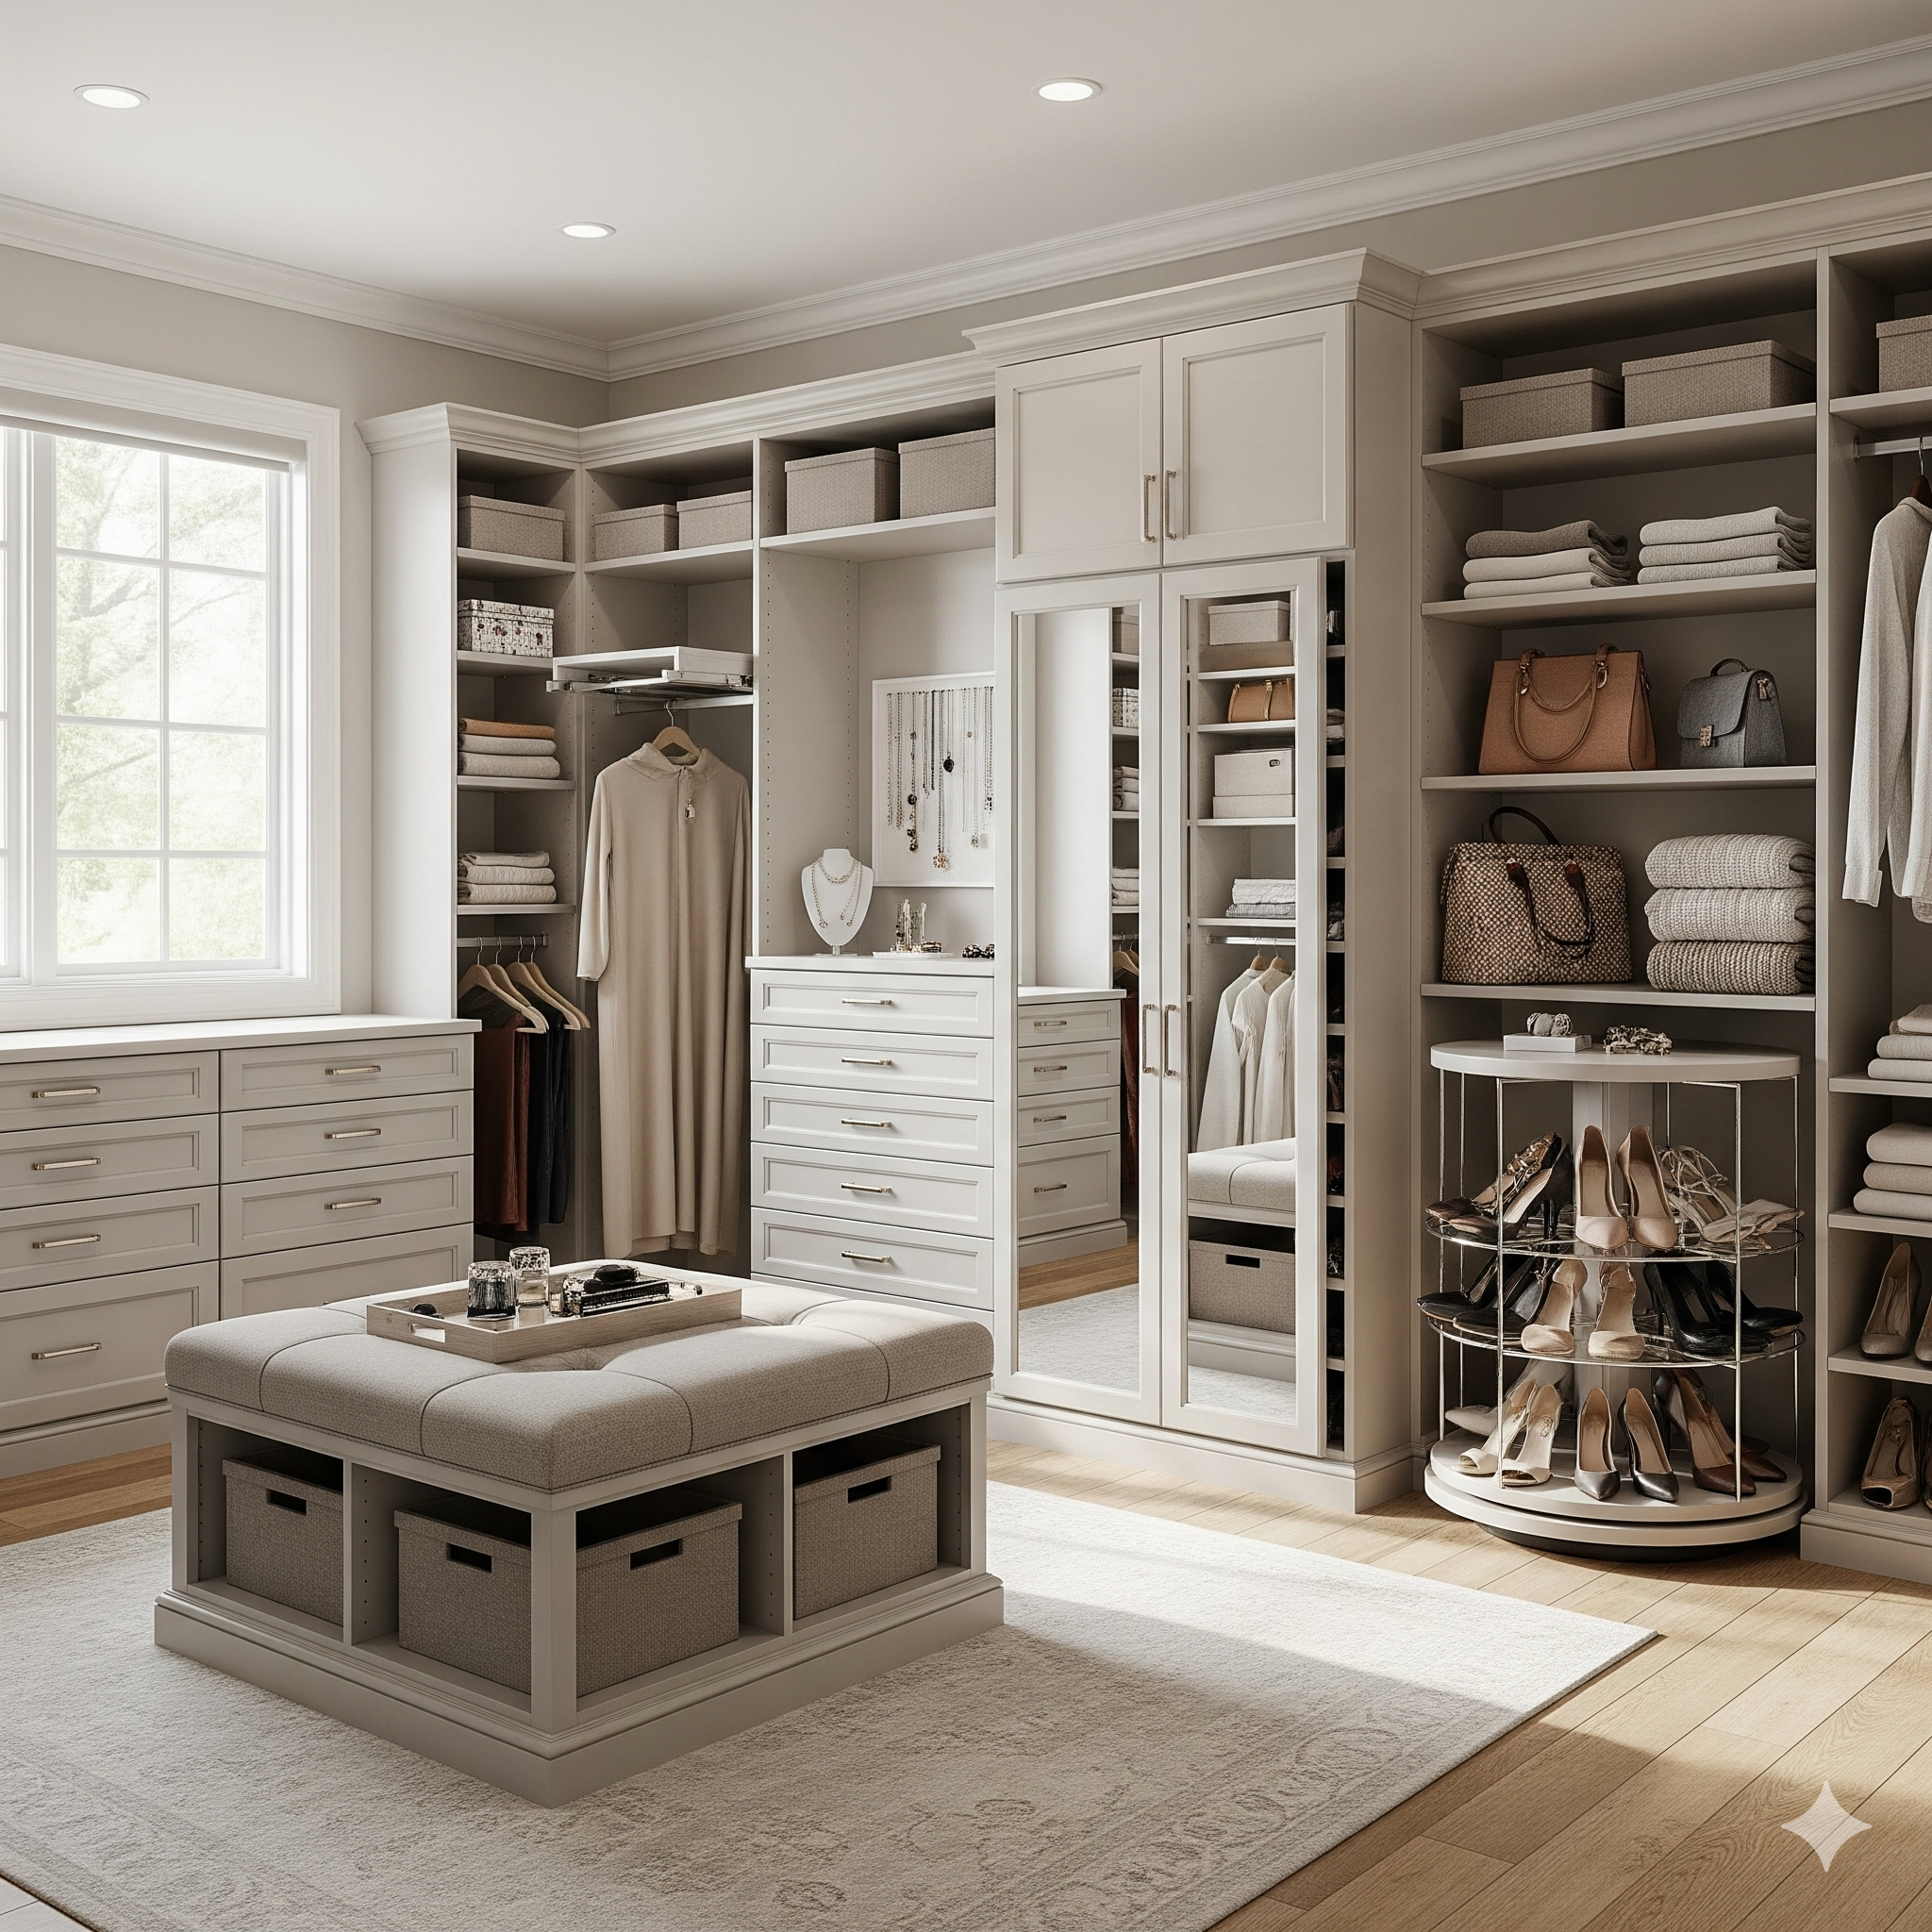
Is clutter winning the battle for your countertops? In almost every home, especially in hallways, bathrooms, and small bedrooms, there’s a constant struggle for more storage. But what if you could unlock secret space that’s already hiding right inside your walls?
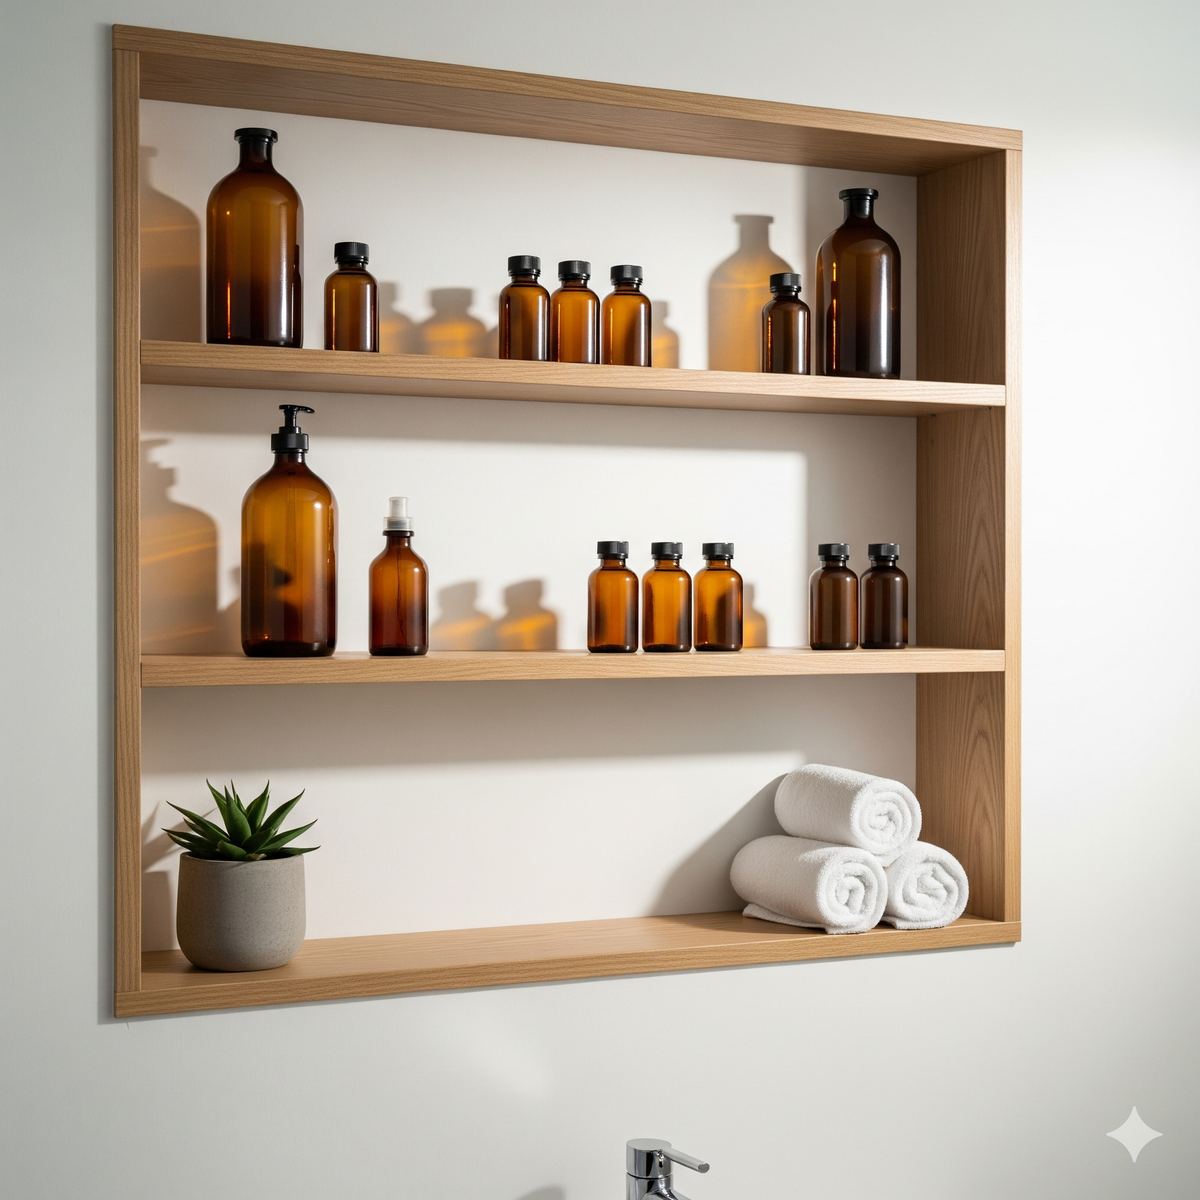
That’s where this project comes in. We’re going to show you how to use the empty space between your wall studs to create a sleek, recessed in-wall cabinet (also known as a niche). It’s a game-changing DIY that adds valuable storage for toiletries, spices, or decor without taking up a single inch of floor space. Let's get building!
Declutter Your Small Space with These 23 IKEA Hacks
"Enjoy this curated video. All rights and credit go to the original YouTube creator."
Planning Your Project: Location is Key
Before you cut into any walls, a little planning goes a long way. The success of this project depends on finding a safe, empty wall cavity.
⚠️ Important Safety Warning: Your walls can contain electrical wires, plumbing pipes, and HVAC ducts. Cutting into these can be dangerous and costly. Never skip the safety check step.
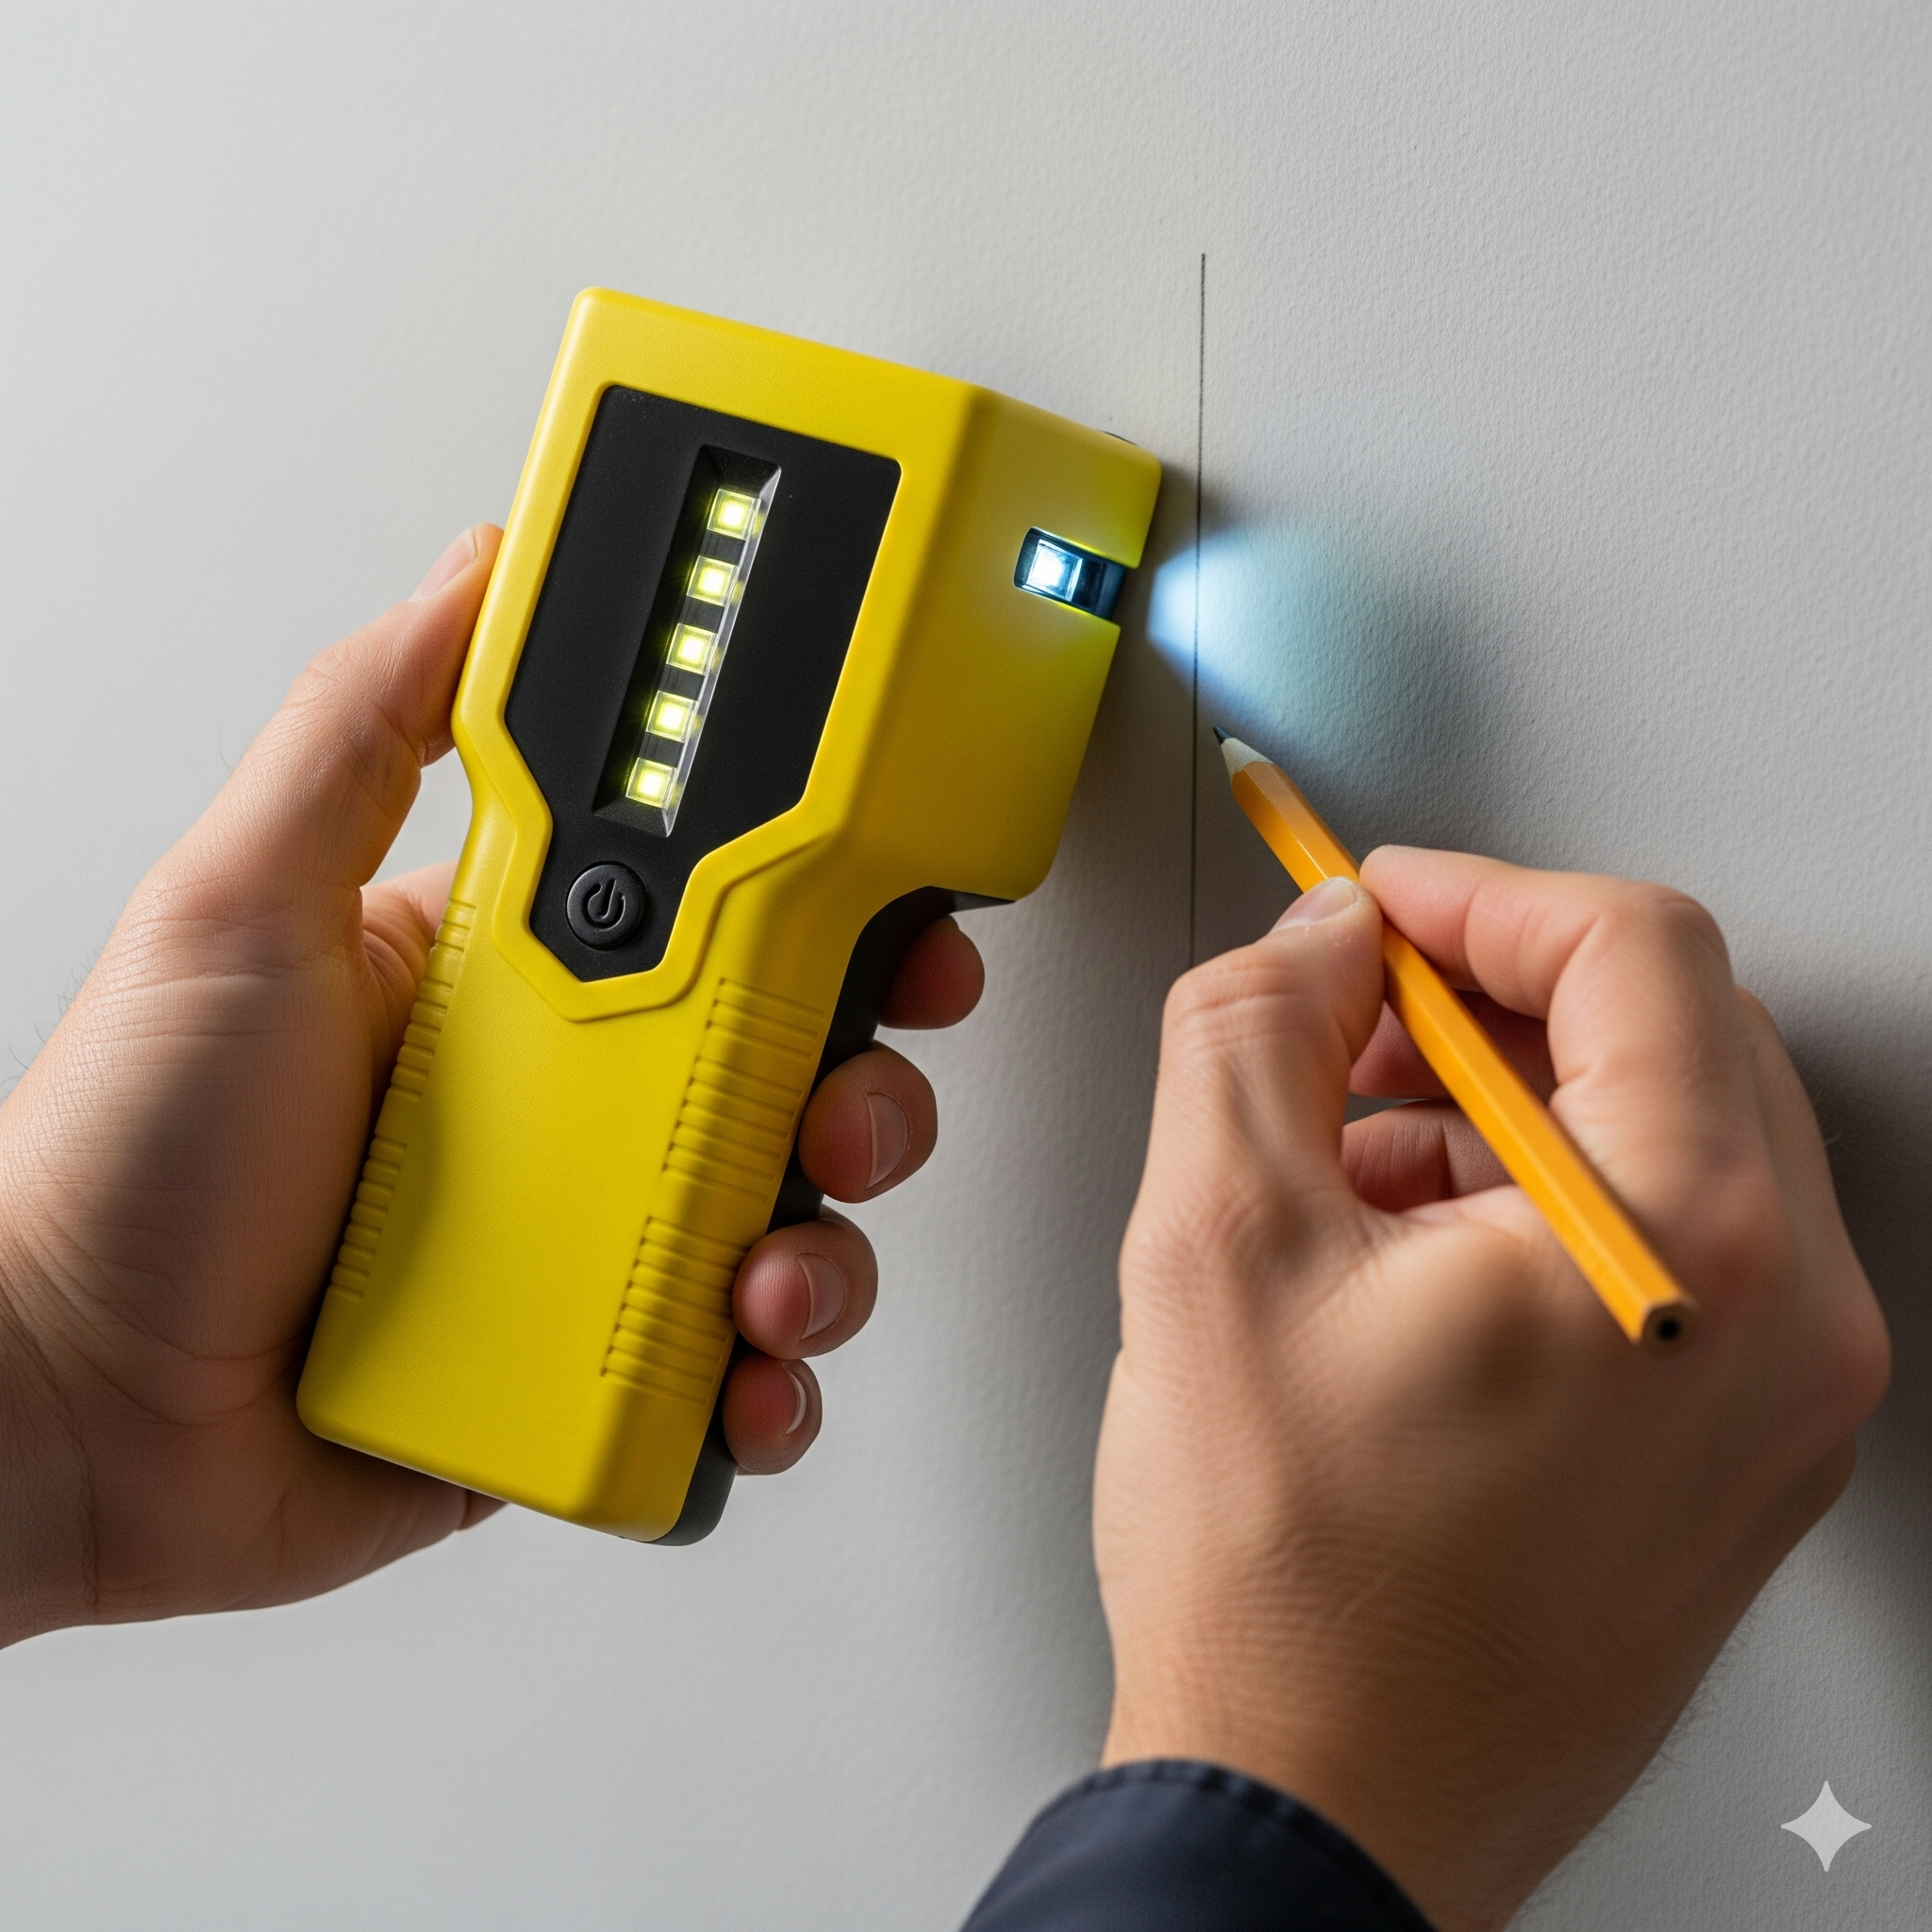
- Find the Studs: Use a stud finder to locate the vertical studs in your desired wall. You’ll be placing your cabinet in the empty bay between two studs.
- Check for Obstructions: Once you’ve marked your spot, this is the most critical step. We’ll cover how to do a small, safe exploratory cut in the instructions below before you make the full cutout.
- Choose a Location: This project is perfect for:
- Bathrooms: To hold toiletries, medications, or rolled towels.
- Hallways: For displaying small photos or decor.
- Kitchens: As a recessed spice rack near your stove.
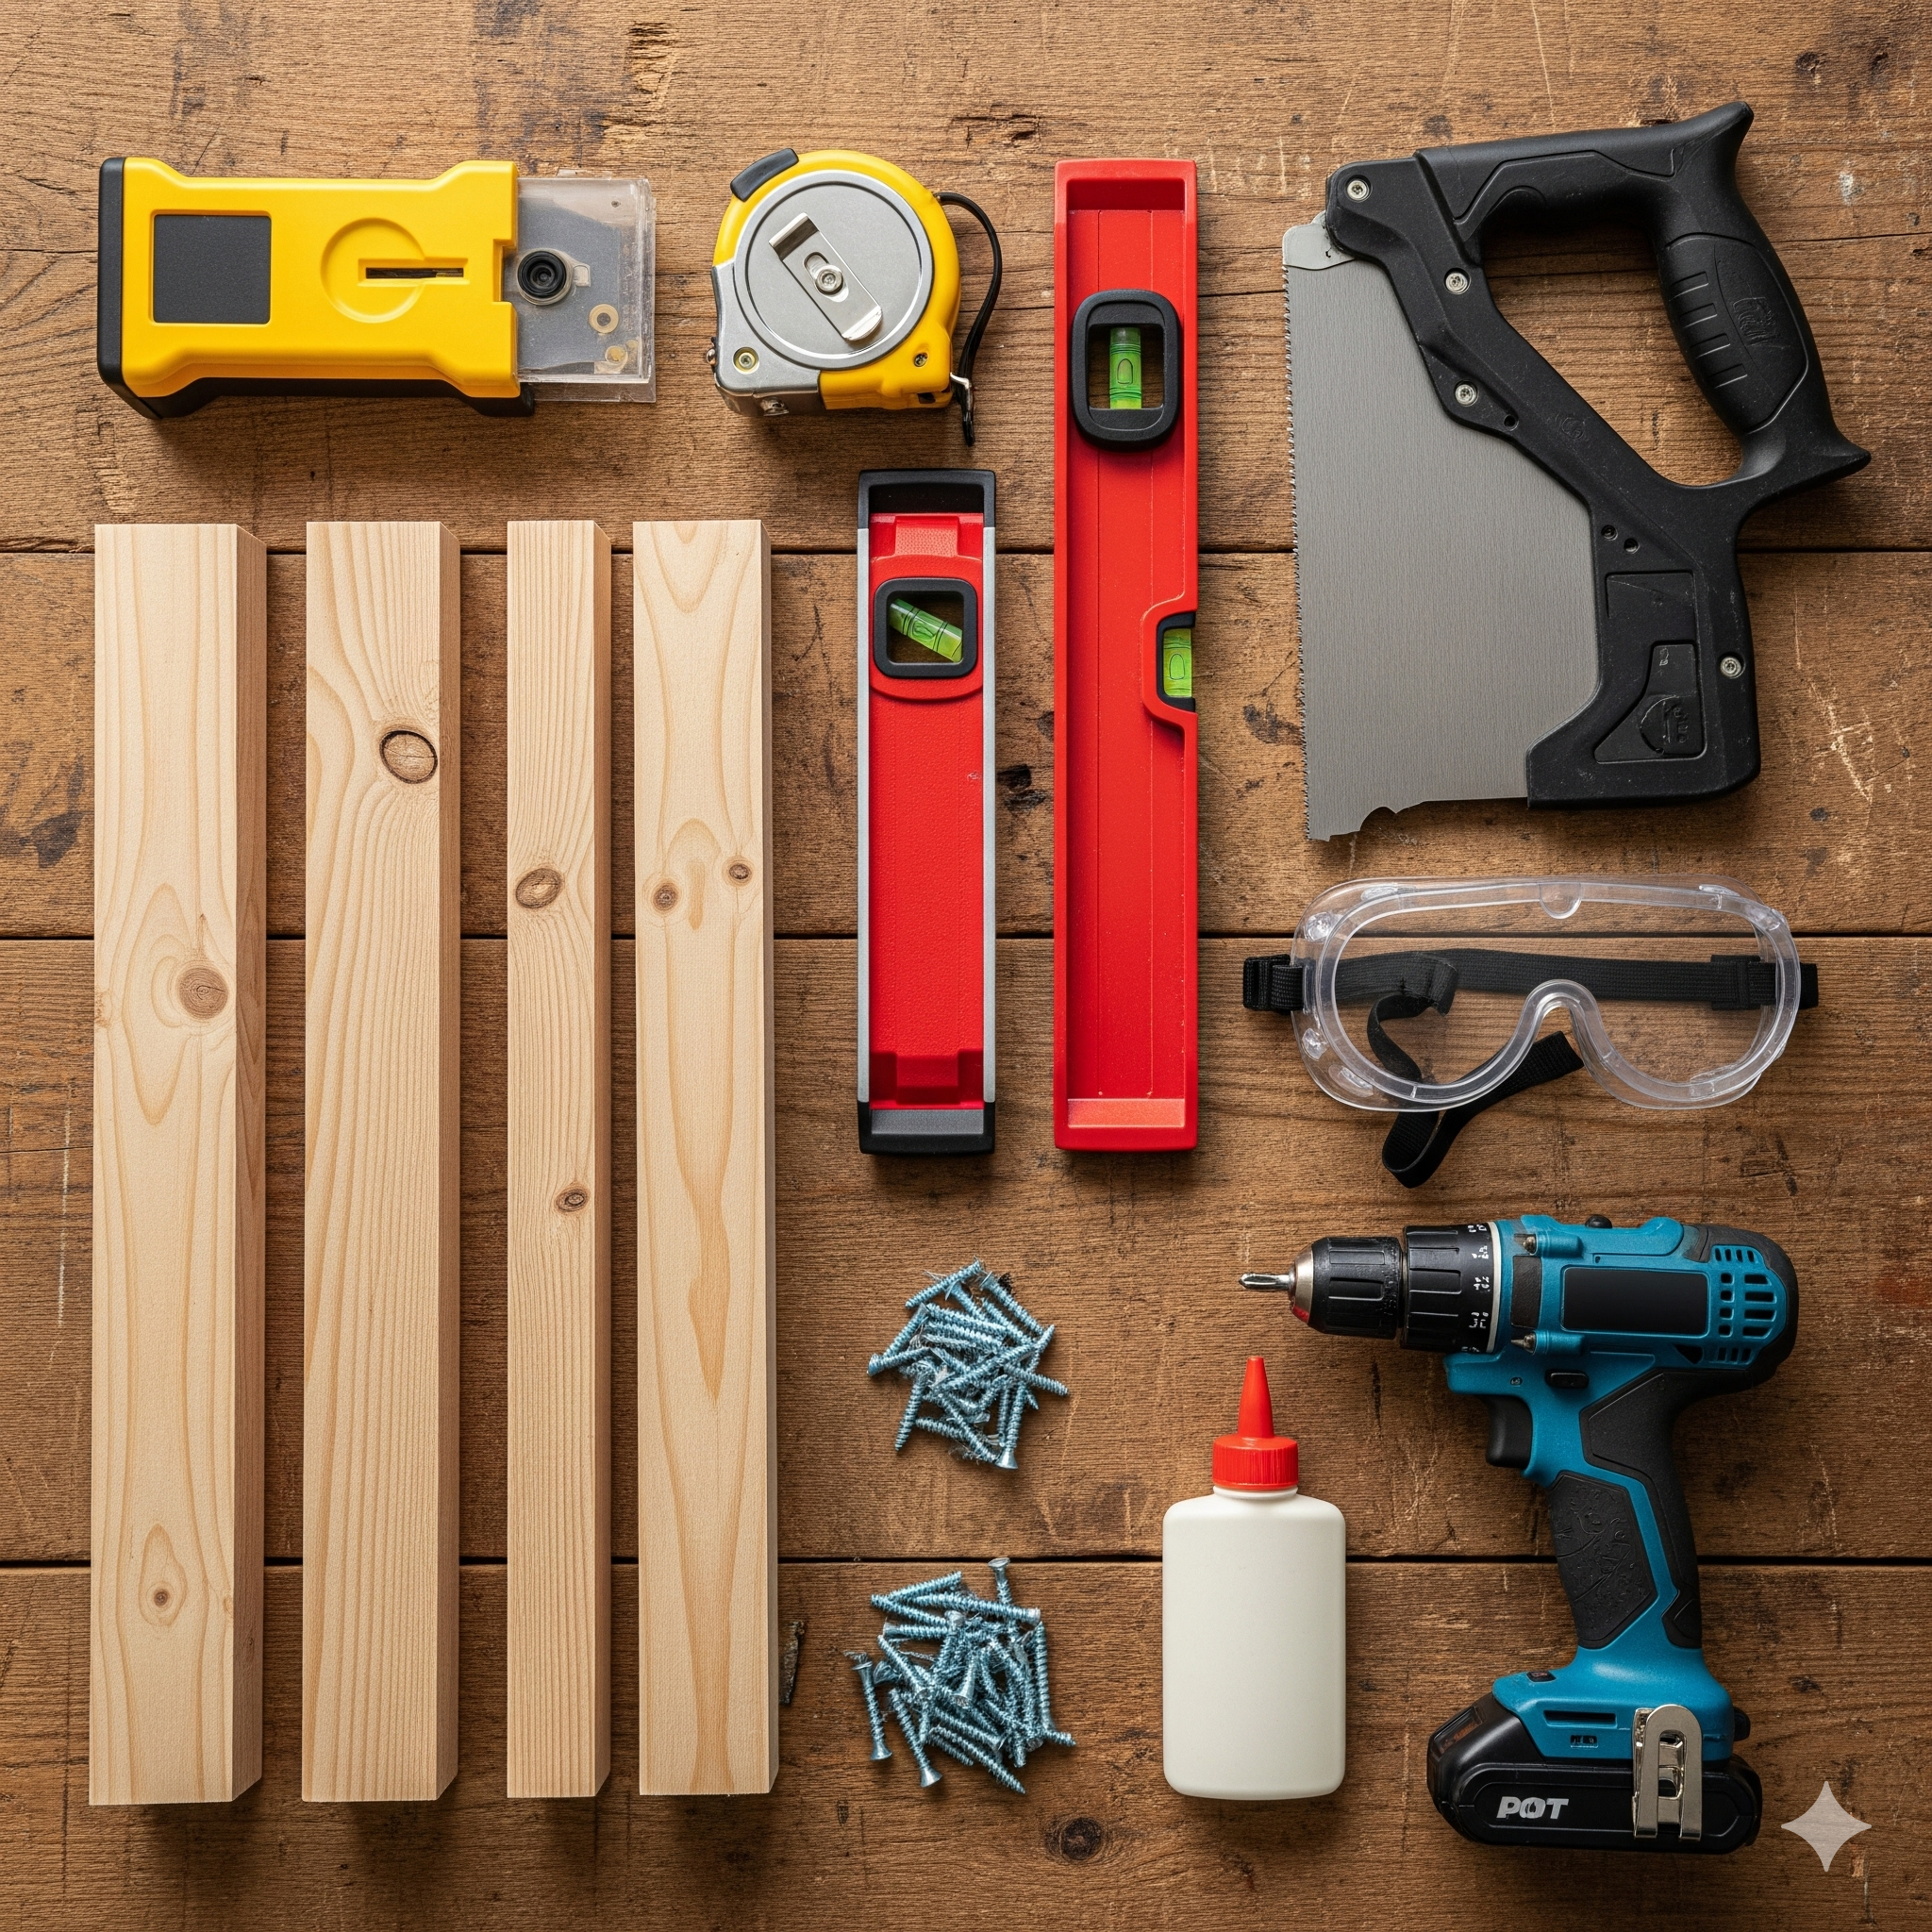
Tools & Materials Required
To get this job done right, you'll want to gather your supplies first.
Tools for the Job
- Stud Finder
- Level & Tape Measure
- Pencil
- Drywall Saw
- Power Drill
- Safety Goggles & Work Gloves
Project Materials
- 1x4 Lumber (for the cabinet box frame)
- Thin Plywood or Luan (for the cabinet backing)
- Wood Glue
- 1 ½ inch Wood Screws or Finishing Nails
- Caulk
- Wood Filler or Spackle
- Primer & Paint (to match your wall/trim)
- Decorative Trim/Moulding (to frame the outside)
Your safety is the most important tool in your kit. Before you begin, always protect your eyes with safety goggles, especially when cutting drywall or drilling, to shield them from dust and debris. A sturdy pair of work gloves is also essential to prevent splinters when handling lumber and to maintain a secure grip on your tools. When you get to the finishing stage, make sure your workspace is well-ventilated to avoid inhaling any fumes from primers or paint. A few simple precautions will ensure your DIY project is not only successful but also safe from start to finish.

Step-by-Step Guide to Building Your In-Wall Cabinet
Step 1: Mark Your Opening
Once you've found an empty wall bay with your stud finder, use a level and tape measure to draw a precise rectangle on the drywall for your opening. A common size is 14 inches wide (to fit between standard 16-inch on-center studs) and 24 inches tall, but you can customize it.
Step 2: The Safety Check Cut
Before cutting the full opening, use your drywall saw to cut a small, 4x4 inch exploratory hole in the center of your marked rectangle. Use a flashlight and a small mirror to look up, down, and side-to-side inside the wall to ensure there are no pipes or wires in the way.
Step 3: Cut the Full Opening
Once you’ve confirmed the coast is clear, carefully cut along your marked lines with the drywall saw. Take your time to keep the cuts as straight as possible. Remove the piece of drywall.
A clear, well-lit photo from a DIY perspective, showing a person's hands carefully inserting a wooden box frame into a precisely cut opening in a drywall. The wall studs are visible on either side.
Step 4: Build the Cabinet Box
Measure the exact depth, height, and width of your opening. Cut your 1x4 lumber to create a simple box frame. Assemble the four sides using wood glue and screws. Finally, cut your thin plywood to size and attach it to the back of the frame to enclose the box.
Step 5: Insert and Secure the Cabinet
Slide your completed box into the wall opening. It should be a snug fit. Use a level to make sure it's perfectly straight, inserting small wood shims between the box and the studs if needed. Once level, secure the box by driving screws through the inside of the box directly into the wall studs on each side.
Step 6: Finish with Trim
Measure and cut your decorative trim with 45-degree mitered corners to create a beautiful frame around your new cabinet. This hides the rough edge of the drywall and gives the project a professional, built-in look. Attach the trim with a few finishing nails.
Fill any nail holes with wood filler, caulk the seams, and then prime and paint everything to match your wall or trim color.
And that’s it! You’ve just turned a blank, empty wall into a stylish and incredibly useful storage space. Stand back and admire your work—you just completed a next-level DIY project.
Conclusion
And that’s it! You’ve just turned a blank, empty wall into a stylish and incredibly useful storage space. By taking the time to plan carefully and build with precision, you’ve completed a next-level DIY project that not only reduces clutter but also adds custom value to your home. Stand back and admire your work—you've unlocked hidden potential and created a feature you'll enjoy every single day.
Frequently Asked Questions
What's the best place to install an in-wall cabinet?
The best spots are interior walls where you need shallow storage, like bathrooms (for toiletries), hallways (for decor), and kitchens (as a spice rack). They are also great behind doors that open against a wall.
How do I know for sure there are no wires or pipes in my wall?
After finding the studs, the safest method is to cut a small 4x4 inch exploratory hole in the center of your intended area. Use a flashlight and a small mirror to visually inspect the inside of the wall cavity for any obstructions before you cut the full opening.
Can I install a recessed cabinet in an exterior wall?
It is strongly advised not to. Exterior walls contain crucial insulation and a vapor barrier. Cutting into them can compromise your home's energy efficiency and potentially lead to moisture problems. Stick to interior walls only.
How deep can I make my in-wall shelves?
The depth is determined by your wall studs. In most modern homes, walls are built with 2x4 studs, giving you a usable depth of about 3.5 inches. Older homes with 2x6 studs may offer a depth of 5.5 inches.
Do I have to build the cabinet box myself?
Not at all! You can find pre-made recessed medicine cabinets or niche inserts online or at home improvement stores. This can save you the step of building the box, but make sure you cut your wall opening to the precise dimensions required for the pre-made unit.
How can I add shelves inside my new cabinet?
The easiest way is to measure and cut shelves from the same 1x4 lumber. You can either secure them with finishing nails through the sides of the cabinet box before you install it, or you can use shelf pins for adjustable shelves by drilling a series of small, level holes on the inside walls of the cabinet.
Can this project be done on a lath and plaster wall?
Yes, but it's more challenging. Lath and plaster is more brittle than drywall and can crack or crumble. You'll need to use a multi-tool with a specific blade for a cleaner cut and be prepared to do more significant plaster repair around the edges for a clean finish.
Maximize every inch of your home with clever storage solutions from Walmart. From stackable bins and slim velvet hangers to over-the-door organizers that create storage out of thin air, we have everything you need to get organized.