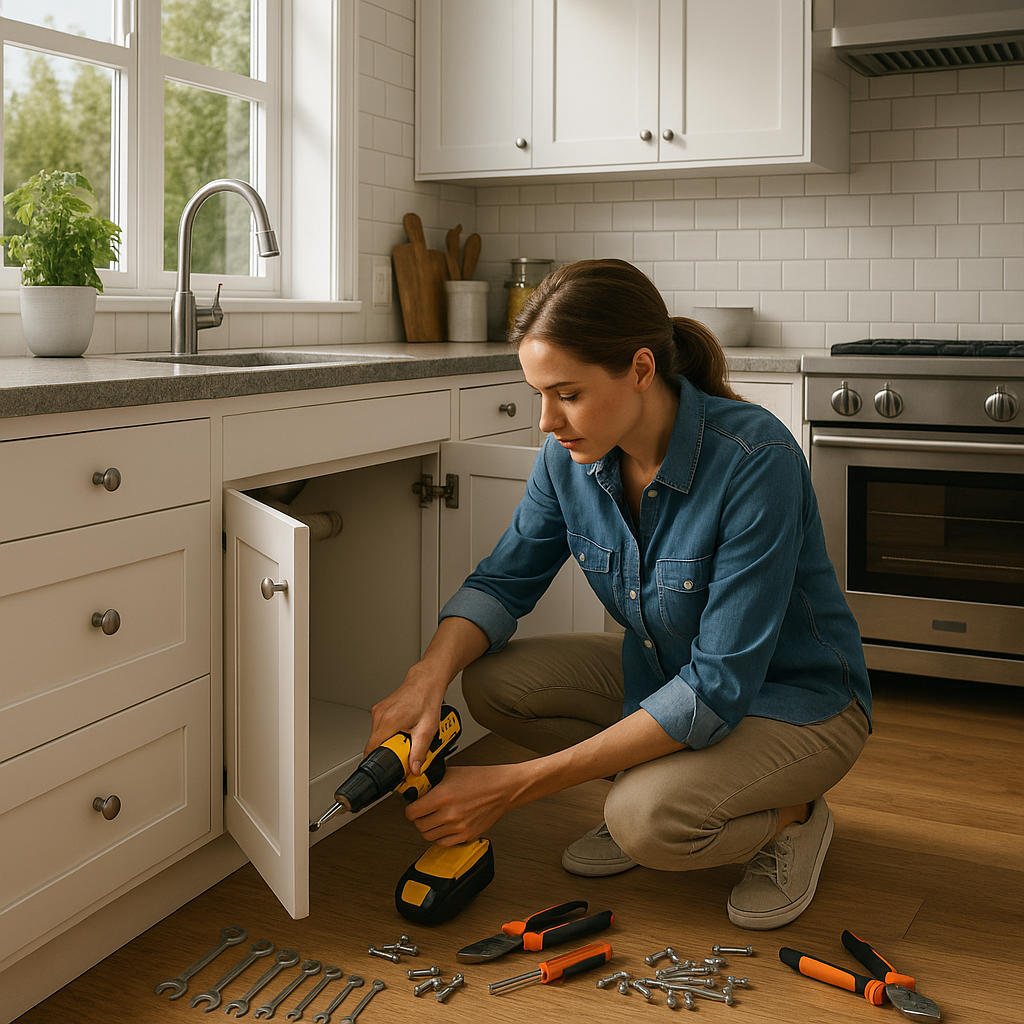
Learn the How-Tos: Master Any DIY Task
Want to master any DIY task? Learn our universal 5-step method for tackling projects with confidence. Unlock your potential and learn the how-tos of home repair, crafting, and more.

Have you ever scrolled through stunning home renovation photos or watched a satisfying crafting video and thought, "I wish I could do that"? The good news is, you absolutely can. The ability to tackle a DIY task isn't an innate talent; it's a skill that anyone can learn.
Mastering the art of "do-it-yourself" is about more than just saving money. It's about building confidence, solving problems, and gaining a deeper connection to the space you live in. This guide will provide you with a universal framework to learn the how-tos of virtually any project, from fixing a leaky faucet to building your own furniture.
Why Mastering DIY is a Modern-Day Superpower
In a world where it's easy to hire out every task, developing DIY skills is a rewarding act of self-reliance. The benefits are immense:
- Empowerment: You'll no longer feel helpless when something minor breaks. You'll have the confidence to diagnose the problem and find a solution.
- Cost Savings: The financial benefit is undeniable. The cost of labor is often the most expensive part of any home repair or improvement project.
- Unlimited Customization: When you do it yourself, you're in complete control. You can bring your unique vision to life, perfectly tailored to your style and needs.
- Enhanced Problem-Solving Skills: Every DIY project is a puzzle. Learning to navigate unexpected challenges sharpens your critical thinking in all areas of life.
The Universal 5-Step Method to Master Any DIY Task
No matter what you're trying to learn—basic plumbing, woodworking, or painting—this proven five-step approach breaks the process down into manageable parts.
Step 1: Deconstruct the Project
Before you touch a single tool, break the task down into its smallest possible components. For example, if your goal is to "build a bookshelf," your deconstructed list might look like this:
- Choose a design and create a plan.
- Calculate and purchase the necessary lumber.
- Measure and cut the wood to size.
- Sand all pieces.
- Assemble the frame.
- Attach the back panel.
- Prime and paint (or stain).
- Install and secure the bookshelf.
Seeing the project as a series of small, achievable steps makes it far less intimidating.
Step 2: Gather Knowledge & Resources
This is the "learn the how-tos" phase. Immerse yourself in information. Your goal is to understand not just what to do, but why you're doing it.
- Watch Video Tutorials: YouTube is your best friend. Look for creators who explain the process clearly. Channels like This Old House or The Home Depot offer excellent, reliable guides. Watch at least three different videos on the same topic to see various techniques.
- Read Written Guides: Blogs and manufacturer websites often provide detailed, step-by-step articles with photos.
- Consult the Experts: Don't be afraid to ask for advice at your local hardware store. The staff are often experienced and can provide invaluable tips.
Step 3: Assemble Your Tools & Materials
Create a comprehensive list of every single tool and material you'll need. There's nothing worse than having to stop a project midway through for an emergency trip to the store. For beginners, consider buying a good quality starter toolkit that includes basics like a hammer, screwdriver set, pliers, tape measure, and a level.
Step 4: The Practice Run
Never make your first attempt on your final piece. If you're learning to use a circular saw, practice on scrap wood first. If you're trying a new painting technique, test it on a piece of cardboard. A practice run builds muscle memory and confidence, allowing you to work out the kinks before it really counts.
Step 5: Execute, Refine, and Be Patient
Now it's time to tackle the actual project. Work slowly and methodically, referring back to your plan and resources as needed.
- Measure Twice, Cut Once: This age-old advice is the golden rule of DIY.
- Mistakes Will Happen: Don't get discouraged. Mistakes are part of the learning process. The key is to learn how to fix them.
- Know When to Stop: If you feel frustrated or tired, take a break. Rushing leads to sloppy work and accidents.
Frequently Asked Questions (FAQ)
Q: Where should a complete beginner start with DIY? A: Start small to build confidence. Great beginner projects include assembling flat-pack furniture, patching a small hole in a wall, changing a showerhead, or giving a small piece of furniture a fresh coat of paint. These tasks teach fundamental skills with a high chance of success.
Q: How do I know which online tutorials to trust? A: Look for tutorials from reputable sources like established brands (e.g., Lowe's, Home Depot), well-known media outlets (e.g., This Old House, Better Homes & Gardens), or creators who clearly show every step and explain the reasoning behind their actions. Check the comments section to see the experiences of others.
Q: What are the most essential tools for a new DIYer? A: A basic home toolkit should include a 16-foot tape measure, a 16-ounce hammer, a set of screwdrivers (Phillips and flathead), needle-nose and slip-joint pliers, an adjustable wrench, a utility knife, and a small level. A quality cordless drill is often the first power tool people buy and is incredibly versatile.
You Have What It Takes
Every expert was once a beginner. By adopting a structured learning approach, you can systematically build the skills needed to master any DIY task you set your mind to. Start with a small project this weekend, follow the steps, and unlock the satisfaction of creating, repairing, and improving with your own two hands.


