How to Make a Paper Airplane That Actually Flies Far
Learn how to fold a paper airplane that actually flies far. Step-by-step instructions, pro tips, and fun tweaks for beginners.

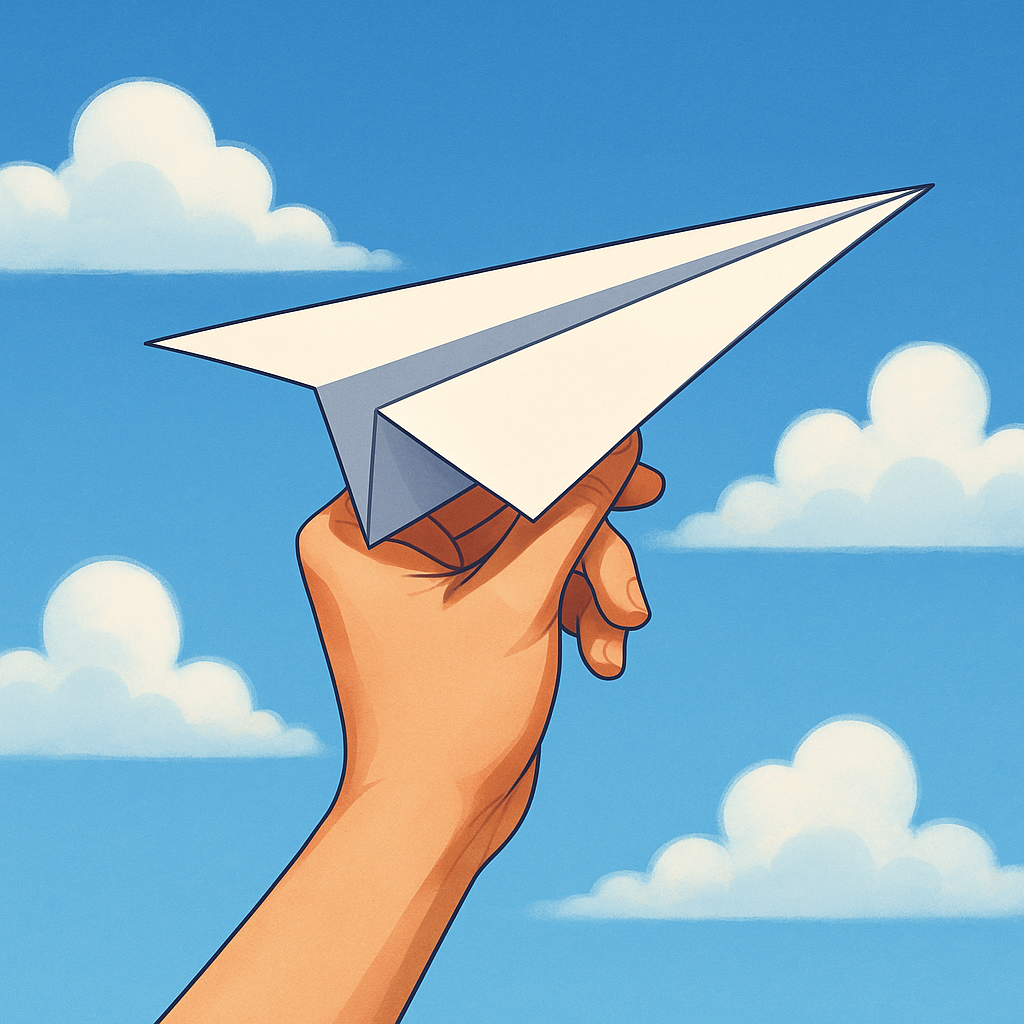
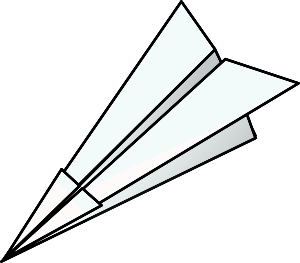
There’s something timeless about folding a piece of paper into a little flying machine. It’s five minutes of effort, a quick flick of the wrist, and suddenly you’re watching your creation glide across the room. Simple, nostalgic, and surprisingly addictive.
Today, you’ll learn how to fold a classic dart paper airplane — the one that flies straight, far, and doesn’t nosedive on you after two feet. And along the way, I’ll share a few tweaks to turn your plane from “cute” to “competition ready.”
Simple Paper Airplane Tutorial: The Easiest Way to Fold a Plane That Flies 100 Feet
"Enjoy this curated video. All rights and credit go to the original YouTube creator."

What You’ll Need
- A single sheet of printer paper (8.5” x 11” works perfectly)
- A flat surface for folding
That’s it. No scissors. No tape. Just your hands and a sheet of paper.
Step 1: Fold the Paper in Half
Line up the edges lengthwise (the long way). Press the crease firmly — this is your plane’s backbone. Accuracy here means better flight later.
Step 2: Shape the Nose
Unfold the paper. Fold the top two corners down toward the center crease until they meet at a sharp point. This gives you the classic “arrowhead” look.
Step 3: Reinforce the Nose
Fold the new angled edges down again into the center line. This extra layer adds weight to the nose, making your plane cut through the air instead of wobbling.
Step 4: Create the Wings
Fold each side downward so the top edges line up with the bottom of the paper. Congratulations — you’ve got wings. Tilt them slightly upward if you want more lift.
Step 5: Take It for a Test Flight
Hold your airplane near the nose, aim it slightly upward, and give it a smooth toss. If you did it right, it should glide far instead of nosediving.
Pro Tips & Fun Tweaks
- Want distance? Angle the wings up a tiny bit — it stabilizes the flight.
- Want tricks? Bend the back corners slightly up or down to create loops, spirals, or dives.
- Want to win contests? Try heavier paper — cardstock glides straighter and farther.
That’s it — your first paper airplane. Once you’ve mastered the classic dart, you can branch out into gliders, stunt planes, and more advanced folds. But this one? This one’s the crowd-pleaser.