Don’t Get Stranded: How to Change a Tire Safely and Quickly (Even If You’re a Total Beginner)
Learn how to change a tire fast with our easy, step-by-step guide. Get back on the road safely in under 30 minutes. Your essential roadside skill starts here!

There’s nothing worse than that sinking feeling.
You’re cruising down the road, music playing, and then you hear it: the dreaded thump… thump… thump… of a flat tire. It’s a sound that can instantly trigger stress and panic. Most people’s first instinct is to immediately call for roadside assistance.
But what if I told you that you could handle this situation yourself? What if you could be back on the road in under 30 minutes, without waiting for an expensive tow truck, using only the tools that are already in your trunk?
In this guide, you’ll learn the exact, step-by-step process to change a flat tire. I’ll break down every action into simple, easy-to-follow instructions, so you can tackle this common roadside emergency with total confidence.
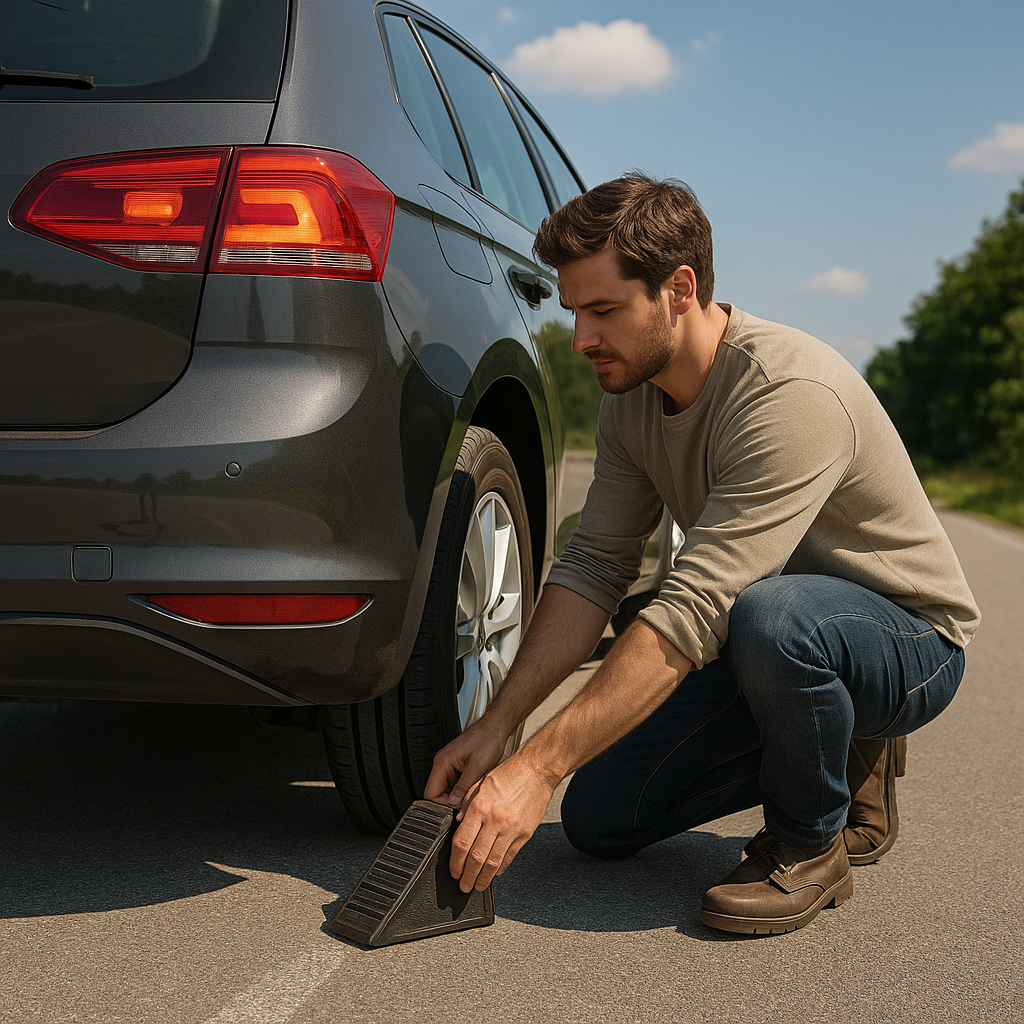
Table of Contents
- Before You Start: Safety First!
- Step 1: Gather Your Gear
- Step 2: Prepare the Vehicle
- Step 3: Loosen the Lug Nuts (While it's on the Ground)
- Step 4: Lift the Vehicle with the Jack
- Step 5: Remove the Flat Tire
- Step 6: Mount the Spare Tire
- Step 7: Lower the Vehicle and Tighten the Lug Nuts
- Step 8: The Final Check and Clean Up
Quick Info Box
- 🕒 Estimated Time: 25-45 minutes
- 💰 Estimated Cost: $0
- 🔧 Difficulty Level: Beginner
Before You Start: Safety First!
Before you even think about grabbing a wrench, your number one priority is safety. A car can be a dangerous piece of equipment if not handled correctly.
Here’s the deal: location is everything.
As soon as you realize you have a flat, don’t slam on the brakes. Gently slow down and look for a safe place to pull over. The ideal spot is a flat, level surface, far away from traffic. A parking lot is perfect. The shoulder of a straight stretch of road is good, but avoid stopping on a hill or a curve where other drivers can’t see you.
Once you’ve found a safe spot:
- Turn on Your Hazard Lights: This is the universal signal for a vehicle in distress. Make yourself as visible as possible.
- Engage the Parking Brake: This is non-negotiable. It will prevent your car from rolling while you work on it.
- Put the Car in "Park": If you have an automatic transmission, shift to Park. For a manual, put it in first gear or reverse.
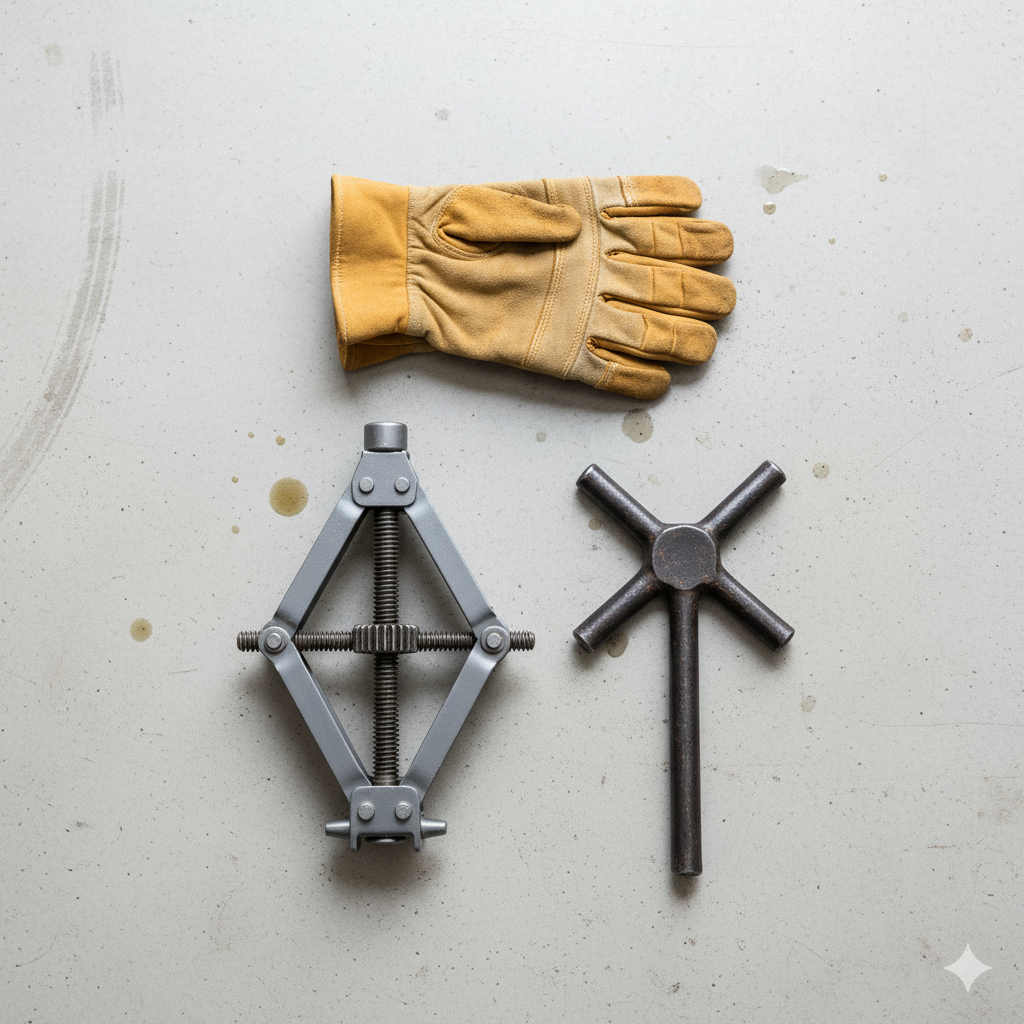
Step 1: Gather Your Gear
Now that you’re safely parked, it’s time to assemble your toolkit. Everything you need should have come with your vehicle. You'll typically find these items in your trunk, under the floor mat, or in a compartment on the side.
Materials & Tools List
| Item | Description |
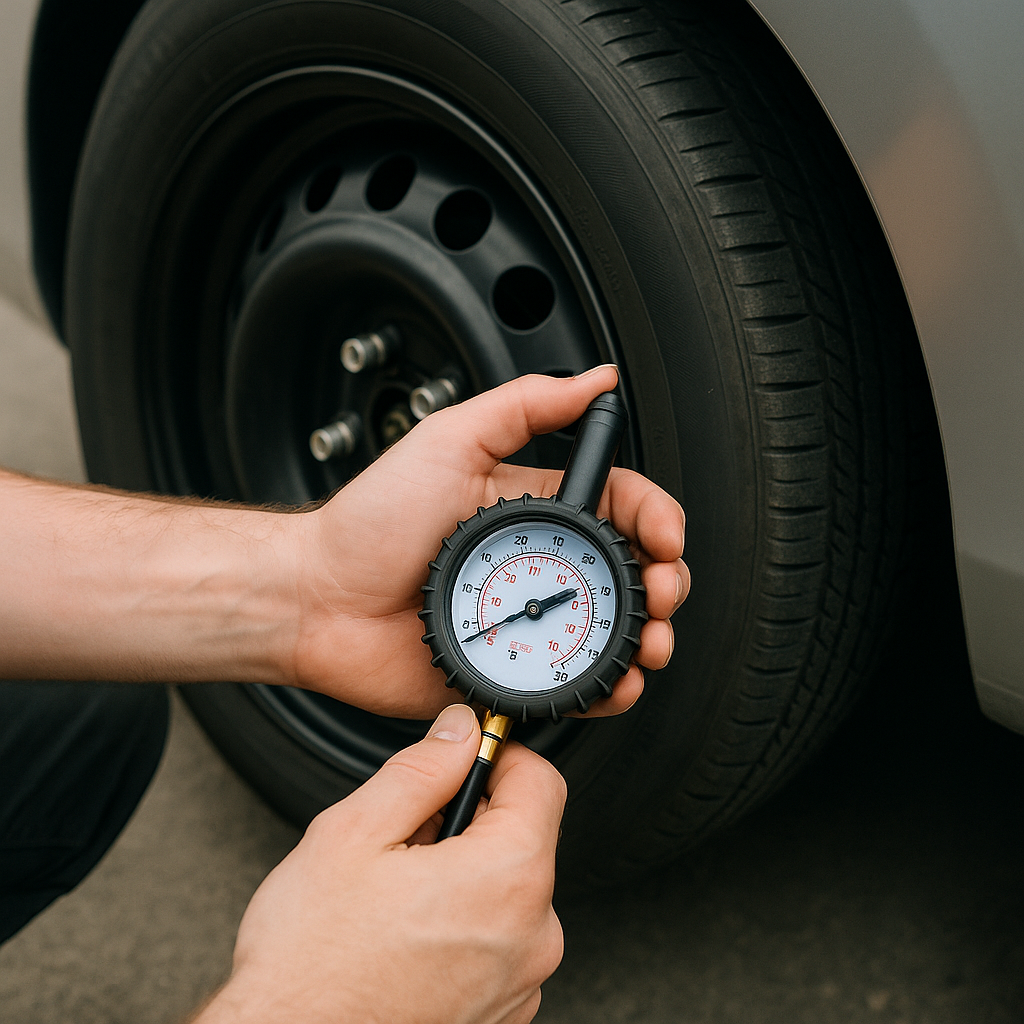
| Spare Tire | Usually a smaller "donut" or a full-size spare. Check its air pressure. |
| Jack | The device that will lift your car off the ground. |
| Lug Wrench | A large, L-shaped or X-shaped wrench used to remove the lug nuts. |
| Wheel Chocks | (Optional but highly recommended). Blocks to place behind the tires to prevent rolling. |
| Owner's Manual | Your car's bible. It will show the exact location of the tools and jacking points. |
| Gloves | (Optional). Wheels are dirty. A pair of work gloves will keep your hands clean. |
Look, you don’t need to buy a fancy roadside assistance kit, but having a pair of wheel chocks can add a massive layer of safety. If you don't have them, a sturdy rock or a piece of wood can work in a pinch.
Having the right tools on hand can turn a roadside emergency into a minor inconvenience. If your car's safety kit could use an upgrade, Walmart has a great selection of everything from sturdy jacks to reflective gear to keep you prepared.
Step 2: Prepare the Vehicle
With your tools laid out, you have one last preparation step.
If you have wheel chocks, place them to secure the wheel that is diagonally opposite the one you're changing. For example, if you're changing the front right tire, chock the rear left tire. This is your best defense against the car rolling.
If the tire has a hubcap or wheel cover, you'll need to remove it now. Some pop off with a little force, while others may require the flat end of your lug wrench to pry them off. Your owner's manual is your best friend here—it will tell you exactly how to do it without causing damage.
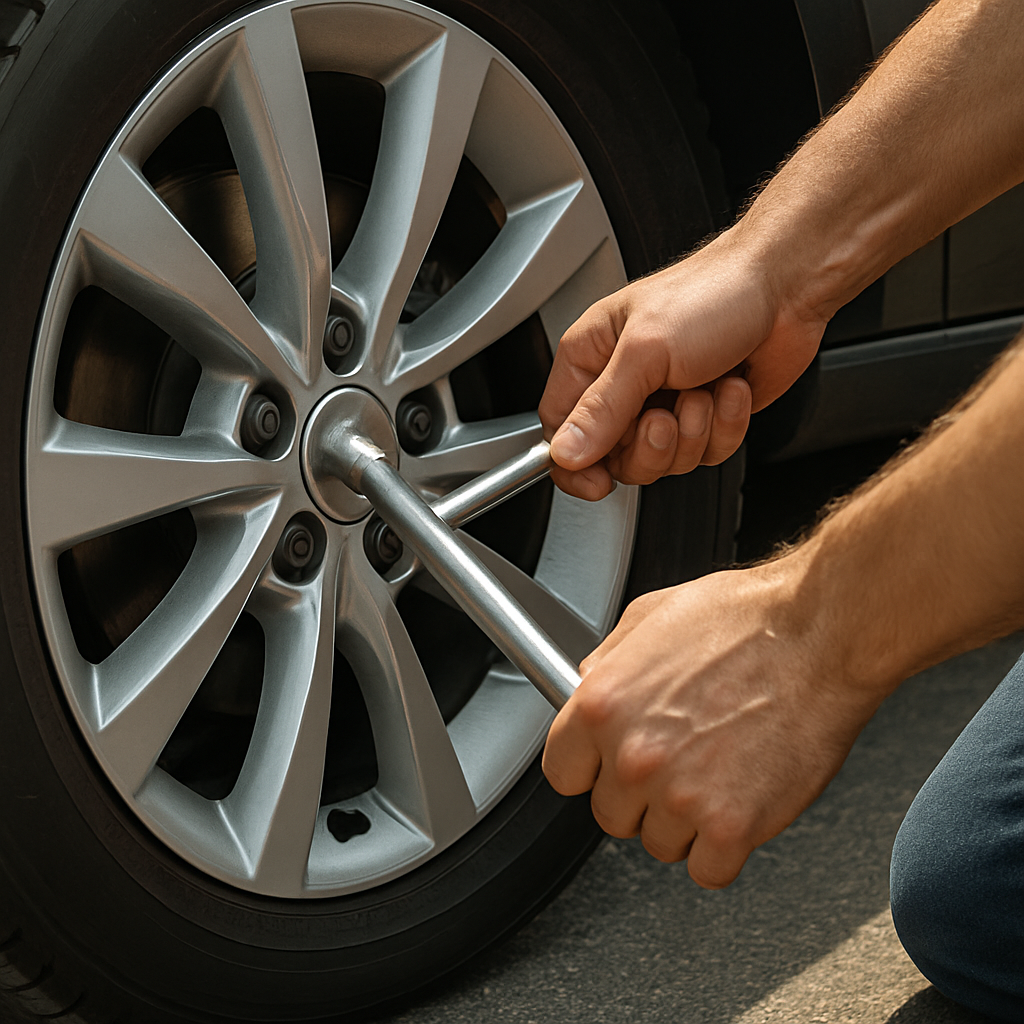
Step 3: Loosen the Lug Nuts (While it's on the Ground)
This is a critical step, and the timing is important. You MUST loosen the lug nuts before you lift the car. If you wait until the wheel is in the air, it will just spin uselessly as you try to turn the wrench.
- Place the lug wrench securely onto one of the lug nuts.
- Apply downward force on the wrench, turning it counter-clockwise (remember: "righty-tighty, lefty-loosey").
- You might need to use your body weight. Stand on the wrench if you have to—they are designed to take the force.
Don’t remove the lug nuts completely! Just break them loose with a half-turn or so. You want them snug enough to hold the wheel in place, but loose enough that you can unscrew them by hand once the car is jacked up.
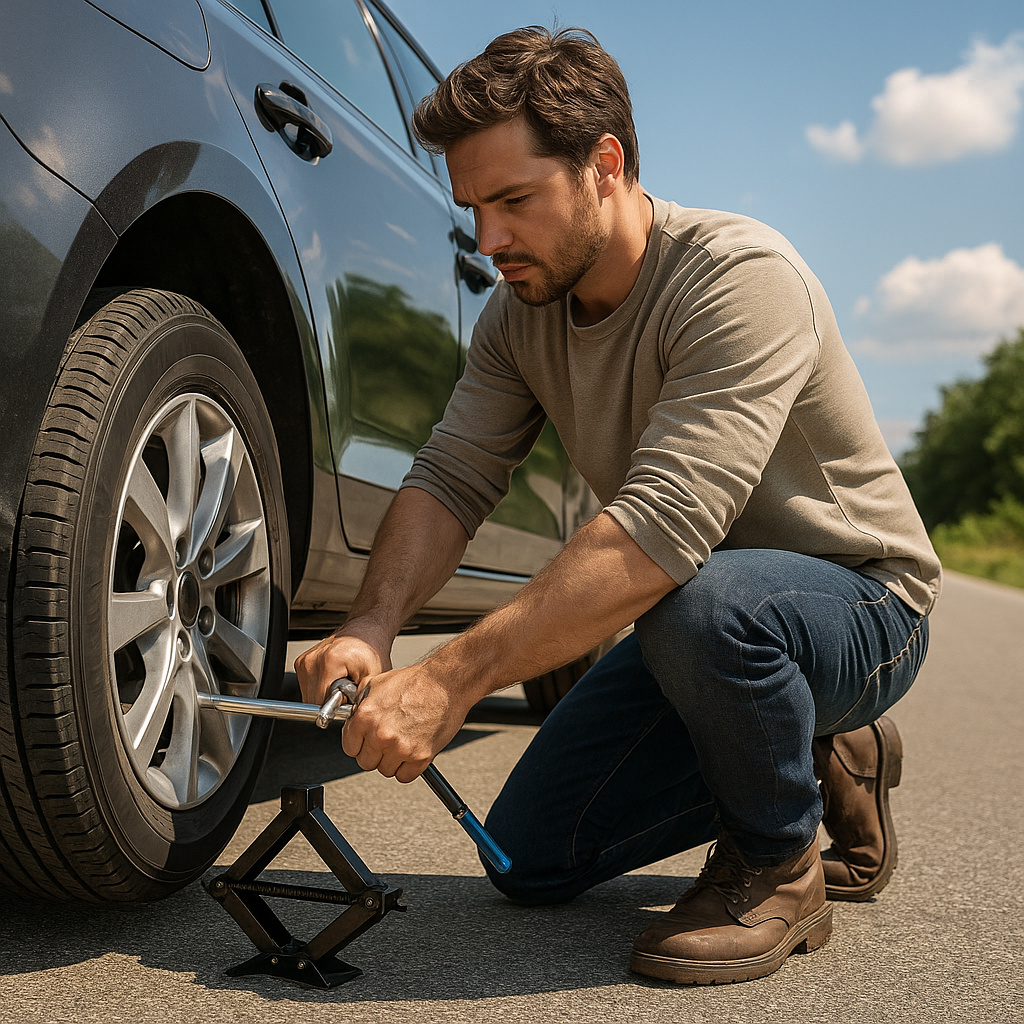
Step 4: Lift the Vehicle with the Jack
It’s time for the main event. Your vehicle has specific, reinforced points on the frame designed to be used with a jack. Using the jack anywhere else can damage your car or lead to the jack slipping.
Where are these points? You guessed it: check your owner’s manual.
Usually, there's a small notch or a mark on the metal frame of the car just behind the front wheels or in front of the rear wheels.
- Position the jack directly under the designated jacking point.
- Begin to raise the jack by turning the handle clockwise. Initially, you can do this by hand until it makes contact with the car's frame.
- Once the jack is supporting the car's weight, continue to raise it slowly and steadily.
- Lift the car until the flat tire is about 6 inches off the ground. This gives you enough clearance to remove the flat and put on the slightly larger, fully inflated spare.
As the car lifts, listen for any creaking or shifting sounds and watch to ensure the jack remains stable and vertical.
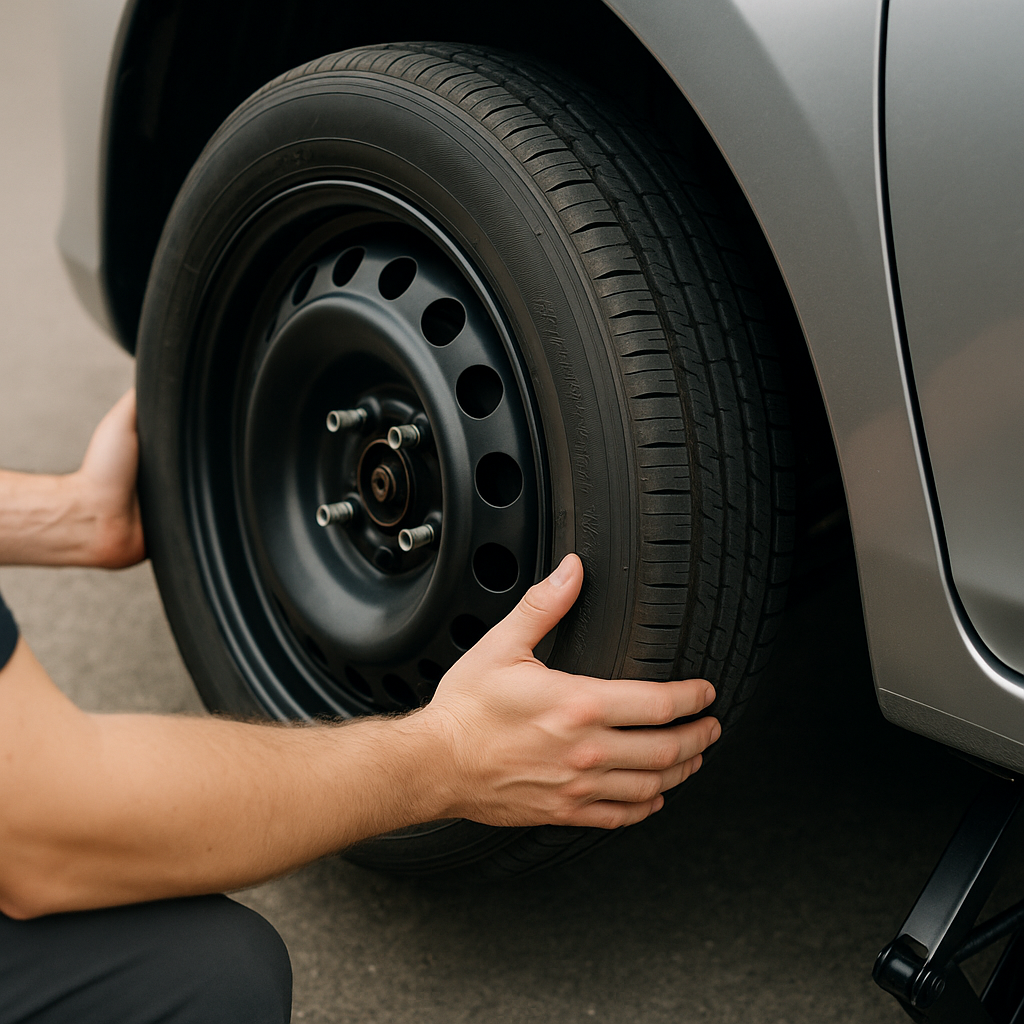
Step 5: Remove the Flat Tire
With the car safely in the air, you can now finish what you started in Step 3.
Unscrew the loosened lug nuts the rest of the way by hand. It's a good idea to put them in a pocket or inside the hubcap so you don't lose them in the grass.
Once all the lug nuts are off, grab the tire with both hands and pull it straight toward you. It might be stuck on there from rust or grime. If it is, give it a firm kick on the side of the rubber with the bottom of your shoe to dislodge it.
Slide the flat tire under the car frame. Why? It's another layer of safety. In the unlikely event the jack fails, the car will fall onto the old wheel, not directly onto the ground (or you).
Step 6: Mount the Spare Tire
Now you’ll do the reverse of what you just did.
- Pick up the spare tire and align the holes with the lug bolts on the wheel hub.
- Push the spare tire all the way on until it sits flat against the hub. This can sometimes be the trickiest part, as the spare can be heavy.
- Take your lug nuts and screw them back on by hand. Tighten them until they are snug. You want the wheel to be held securely in place, but you'll do the final tightening on the ground.
The bottom line: Hand-tightening is all you need at this stage.
Step 7: Lower the Vehicle and Tighten the Lug Nuts
Slowly and carefully, begin to lower the car by turning the jack handle counter-clockwise.
Once the tire is on the ground and the jack is no longer supporting the vehicle's weight, remove the jack completely.
Now, it’s time for the final, crucial tightening.
- Place the lug wrench back on the lug nuts.
- This time, tighten them as much as you can. You should tighten them in a star pattern (see image below) to ensure the wheel is mounted evenly. This means tightening one nut, then the one opposite it, and so on. Don't just go in a circle.
- Once they are all tight, give each one another quarter-turn for good measure.
Properly tightening the lug nuts is critical for safety. For more information on road safety, theNational Highway Traffic Safety Administration (NHTSA)is an excellent resource.
Step 8: The Final Check and Clean Up
You're almost done!
Put the hubcap back on if your spare tire can accommodate it (many temporary spares cannot).
Gather all your tools—the jack, the wrench, and the wheel chocks—and put them back where they belong. Don’t forget to put the flat tire in your trunk! You’ll need to take it to a tire shop to be repaired or replaced.
Conclusion: You Did It!
Congratulations! You’ve just successfully changed a tire and turned a potentially stressful, day-ruining event into a minor inconvenience. You’ve not only saved time and money but also gained a valuable life skill that will serve you for years to come.
The key takeaway is that with a little preparation and a clear set of instructions, almost anyone can handle a flat tire. So next time you hear that thump-thump-thump, you won't feel panic—you'll feel prepared.
Frequently Asked Questions
They should be very tight. After lowering the car, use the lug wrench and your body weight to tighten them as much as you reasonably can in a star pattern. If you own a torque wrench, check your owner's manual for the specific torque spec (usually around 80-100 lb-ft).
Most temporary spares (or "donuts") are not designed for long-term use. The general rule is to not exceed 50 miles in distance or 50 mph in speed. Think of it as a temporary solution to get you safely to a tire shop.
Lug nuts can be very tight. Make sure you are turning the wrench counter-clockwise. Position the wrench so it's mostly horizontal and carefully use your foot to apply steady pressure. If it still won't budge, you may need a "breaker bar" for more leverage or to call for roadside assistance.
Always place the jack on the reinforced metal pinch weld on your car's frame. Your owner's manual will have a diagram showing the exact, safe locations. Placing it anywhere else can damage your vehicle or cause the jack to fail.
It can be very dangerous. Only do this if you can pull over far onto a wide, flat shoulder, well away from traffic. Always have your hazard lights on. If you feel unsafe for any reason, it is always better to stay in your car with your seatbelt on and call for professional roadside assistance.
Yes. You should check the air pressure in your spare tire every few months. Many spares require a higher pressure than regular tires (often 60 psi). An underinflated spare is just as useless as a flat tire.
The star pattern is a method to ensure the wheel is tightened evenly against the hub. Instead of tightening the nuts in a circle, you tighten one, then the one directly opposite it, then move to another, and tighten its opposite. This crisscross pattern prevents the wheel from being mounted at an angle.