DIY Repair for Water-Damaged Kitchen Cabinets: Restore Without Replacing
Fix water-damaged kitchen cabinets without replacing them. Learn DIY repair methods to dry, refinish, and restore cabinets for a fresh, long-lasting look.

Water-damaged kitchen cabinets don’t always need replacing—many can be repaired at home with simple tools and materials. This guide shows you how to assess whether the damage is surface-level or structural, then walks you through drying, sanding, filling, and refinishing your cabinets step by step. You’ll learn how to use wood filler for bubbled surfaces, stain or paint for a fresh finish, and sealants to protect against future damage. With practical prevention tips like caulking, rubber seals, and under-sink liners, you can extend the life of your cabinets and restore their beauty. Save money, avoid a costly remodel, and bring your kitchen back to life.
How to Make Water Damaged Particle Board & MDF Cabinets Look New Again
"Enjoy this curated video. All rights and credit go to the original YouTube creator."
It always starts subtly. Maybe you notice the edge of a cabinet door beginning to bubble, or a soft patch where the finish used to shine. Sometimes it’s a dark ring near the sink where splashes have worked their way in over time. Left unchecked, these little signs grow into swollen panels, peeling veneers, or blotchy stains that make the whole kitchen look tired.
The good news? You don’t need a full remodel. Most water-damaged cabinets can be rescued with a few targeted repairs. By sanding, filling, and refinishing, you can breathe life back into your cabinetry—often in a single weekend. And with a few preventative steps, you can make sure the problem doesn’t return.
This guide will walk you through everything: how to assess the damage, what tools and supplies you’ll need, and the exact steps to restore your cabinets so they look like new.
Why Kitchen Cabinets Are So Vulnerable
Kitchens are moisture central. Between dishwashers venting hot steam, sinks splashing, and cooking condensation, cabinet surfaces are constantly tested. Over time, water exposure leads to three common problems:
- Swelling and warping: Wood and MDF absorb moisture, expanding beyond their original shape.
- Surface damage: Finishes fade, discolor, or peel away, leaving dull or blotchy patches.
- Structural softening: Panels, doors, or edges bubble, blister, or even crumble if ignored long enough.
Understanding these effects helps you match the right repair method to the type of damage you’re dealing with.

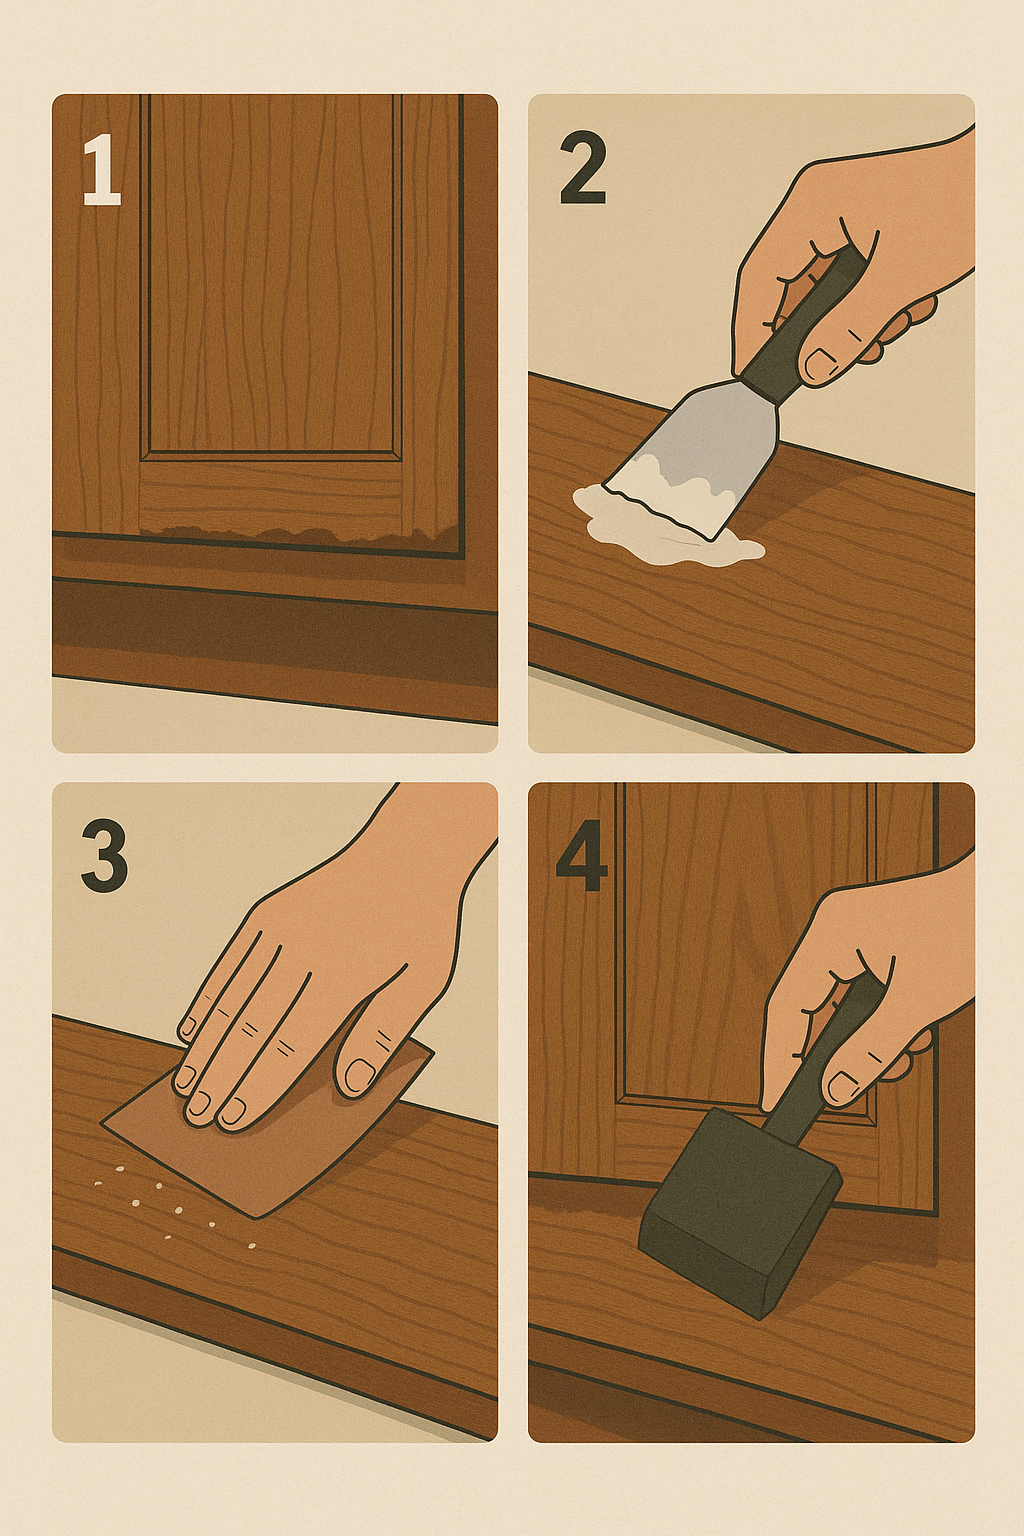
Step 1: Assess the Damage
Before you grab sandpaper or a paintbrush, take ten minutes to really look at the problem.
- Surface-only damage looks like stains, peeling finish, or light bubbling. These are cosmetic issues—repairable with sanding, filling, and refinishing.
- Structural damage shows up as deep warping, sagging, or loose joints. If the wood feels spongy or the shape is permanently distorted, you may need to replace individual panels or doors.
💡 Pro Tip: Take a flashlight and inspect under sinks, behind dishwashers, and around kick plates. Water damage often hides in the corners first.
Step 2: Dry and Clean Thoroughly
Moisture trapped inside wood fibers will ruin any repair attempt. Start by making sure the area is bone dry:
- Wipe all surfaces with a dry microfiber cloth.
- Run a fan or dehumidifier for a few hours if the cabinets still feel damp.
- Clean gently with a mild soap and water solution to remove grime or oils.
- Let the surface dry completely—ideally overnight.
Skipping this step is the fastest way to see your hard work fail.
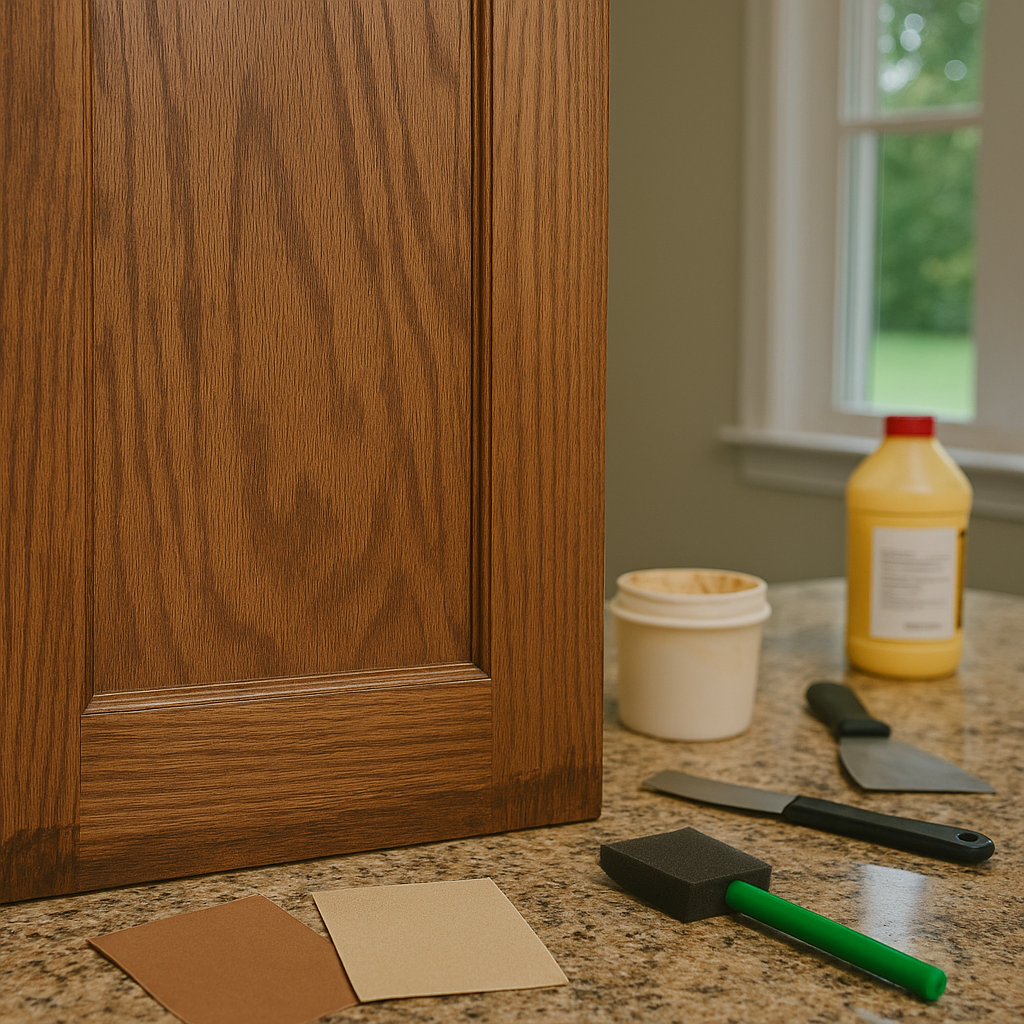
Step 3: Sand the Damaged Areas
Sanding does two things: it removes bubbled or softened finish, and it prepares the surface for new stain or paint.
- Start with medium-grit sandpaper (120–150) to level out damage.
- Switch to fine-grit (220) for a smooth, uniform finish.
- Always sand in the direction of the wood grain.
- For small detail areas, a sanding sponge works better than flat paper.
💡 Pro Tip: Wrap sandpaper around a sanding block for even pressure—your finish will look much more professional.
Step 4: Repair With Filler or Putty
If sanding reveals pitted or uneven areas, you’ll need filler.
- Apply a thin layer of wood filler or putty with a putty knife.
- Overfill slightly, since fillers shrink as they dry.
- Let cure fully (check package instructions).
- Sand flush with surrounding surface until smooth.
For minor scratches or dents, sometimes just sanding and staining is enough. But for bubbled veneers or chipped corners, filler is your best friend.
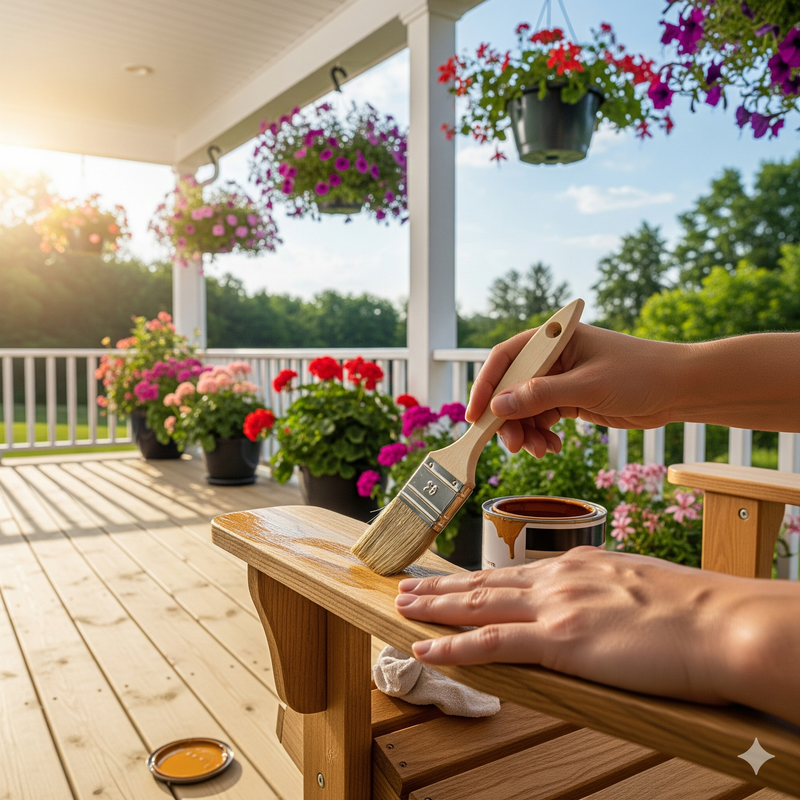
Step 5: Restore the Finish
This is the step that transforms your cabinets from “damaged” to “like new.” Choose your finish based on cabinet type:
- Wood cabinets: Use a color-matched wood stain. Apply in thin coats with a foam brush or cloth, wiping excess after a few minutes. Build up gradually for depth.
- MDF or laminate cabinets: Prime with a bonding primer, then apply a durable cabinet paint. Satin or semi-gloss finishes work best in kitchens.
- All types: Seal with a clear polyurethane or varnish to add durability and protect against future moisture.
💡 Pro Tip: Test your stain or paint on the inside of a cabinet door before committing. Even “matching” products can dry differently than you expect.
Step 6: Seal and Protect Against Future Damage
Now that your cabinets look fresh again, the final step is prevention:
- Run a bead of silicone caulk along sink edges, backsplash joints, and around dishwashers.
- Install rubber seals or weatherstripping in high-moisture zones.
- Place liner mats inside under-sink cabinets to catch drips before they seep into wood.
- Wipe up splashes promptly—prevention is always easier than repair.
With these habits, your repair should last for years.
Materials Required
- Medium-grit sandpaper (120–150)
- Fine-grit sandpaper (220)
- Sanding block or sponge
- Wood filler or putty
- Putty knife
- Clean microfiber cloths
- Mild soap and water solution
- Foam brushes or applicator pads
- Stain or cabinet paint (color-matched)
- Bonding primer (for MDF/laminate)
- Polyurethane or clear varnish
- Silicone caulk + caulking gun
- Rubber seals or weatherstripping tape
- Under-sink liner mats
- Protective gloves, dust mask, and safety glasses
These tools and materials are chosen to make the repair approachable, affordable, and durable. With just sandpaper, filler, and the right finish, you’ll be able to bring back the warmth and polish your cabinets once had. Add in the optional sealants and liners, and you’re setting yourself up for long-term success while saving thousands compared to a full replacement.
Final Takeaway
Water damage doesn’t have to spell the end of your cabinets. By drying, sanding, filling, and refinishing, you can erase years of wear in a single weekend. Best of all, you’ll keep your kitchen looking sharp without draining your budget.
So next time you spot bubbling varnish or a dull water ring, don’t panic—just grab your sandpaper and get started.