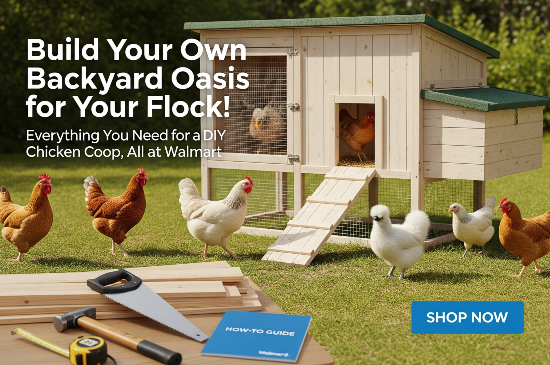
DIY Chicken Coop: Build Your Own Backyard Haven for Happy Hens
Build your own DIY chicken coop to save money and keep hens safe. Step-by-step guide with materials, tools, and Walmart gear list for backyard farming.

Introduction: Why a DIY Chicken Coop?
Backyard chickens are booming. More people than ever are choosing to raise hens for fresh eggs, sustainable living, and the fun of backyard farming.
But here’s the catch: store-bought chicken coops can cost hundreds (sometimes thousands) of dollars, and many of them are flimsy, cramped, or downright unsafe.
That’s why building your own DIY chicken coop is the smartest move.
You’ll save money, get a sturdier structure, and design it perfectly to fit your yard—and your hens’ needs.
Let’s break down how you can build a durable, predator-proof chicken coop that your chickens (and wallet) will love.
DIY Chicken Coop from Scratch | Complete Woodworking Project
"Enjoy this curated video. All rights and credit go to the original YouTube creator."
Step 1: Plan Your Chicken Coop (Space & Design)
Before you grab a hammer, you need a plan.
- Size matters: Each chicken needs at least 3–4 square feet inside the coop and 8–10 square feet in the run.
- Location: Choose a dry, shaded spot that’s slightly elevated for good drainage.
- Design features:
- A nesting box for every 3–4 hens
- Roosting bars for sleeping
- Ventilation to prevent moisture buildup
- Easy-access doors for cleaning and egg collection
👉 Pro Tip: Sketch it out. A simple notebook drawing will save hours of “oops” moments later.
Step 2: Gather Materials & Tools
You don’t need a pro-grade workshop. Basic tools and affordable lumber will get the job done.
Tools and Materials Required
To ensure your DIY chicken coop project is a success, you'll need to gather the right tools and materials before you get started.
Tools for the Job
Here is a list of the essential tools you will need to complete the construction. Having these on hand will make the building process much smoother.
- Circular Saw
- Cordless Drill/Driver Kit
- Tape Measure
- Speed Square
- Safety Glasses
- Pencil or Marker
Project Materials
Below are the necessary supplies for this build. These are the components that will be used to construct the actual chicken coop.
- Exterior Plywood Sheets
- 2x4 Lumber
- Exterior Grade Screws
- Heavy-Duty Hinges
- A Latch for the main door and nesting boxes
- Chicken Wire or Hardware Cloth
- Wood Sealant or Exterior Paint
Step 3: Build the Foundation & Frame
Start strong—your coop’s frame is the backbone.
- Create a 4x8 ft base frame with pressure-treated lumber.
- Raise it off the ground with concrete blocks or 4x4 posts to prevent rotting and keep predators out.
- Build the vertical wall frames and secure them to the base.
👉 Think modular: building in sections makes the project easier to assemble (and easier to move if needed).
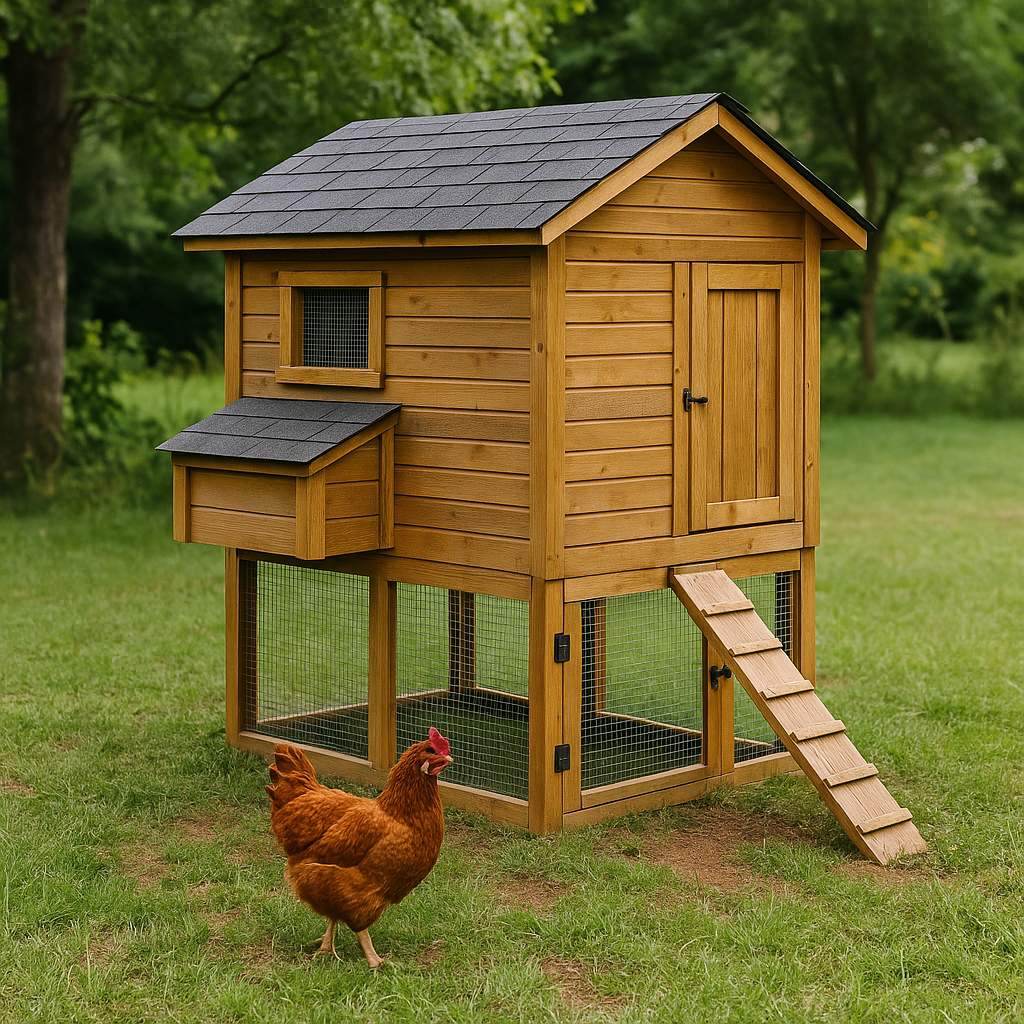
Step 4: Add Walls, Roof, & Openings
- Attach plywood walls, leaving cutouts for windows and doors.
- Install a sloped roof for rain runoff (metal or shingle both work).
- Cover windows with hardware cloth to keep out raccoons, snakes, and other predators.
Pro Tip: Add a small hatch door at the bottom (“chicken door”) and a larger access door for yourself. This makes daily care way easier.

Step 5: Interior Setup (Where Hens Get Cozy)
- Roosting bars: 2x4s laid flat, mounted about 18" above the floor.
- Nesting boxes: Wooden crates or simple plywood boxes, one box per 3–4 hens, lined with straw or pine shavings.
- Flooring: Removable trays or deep-litter bedding (pine shavings + scoop weekly, deep clean monthly).
Step 6: Build the Outdoor Run
Happy hens = healthy hens. A secure run is non-negotiable.
- Frame with 2x4s and wrap with hardware cloth (bury at least 12" underground to stop diggers).
- Provide 8–10 square feet per chicken.
- Add a simple door with secure latches.
Step 7: Weatherproof & Final Touches
- Paint or stain the wood exterior to protect against rain and sun.
- Add gutters or a rain-catching system for bonus sustainability.
- Install a solar-powered light or automatic chicken door for convenience.
And there you have it—your DIY chicken coop, built tough and tailored to your flock.
Benefits of Building Your Own Coop
- Save 50% or more vs. store-bought
- Customize size & features to your backyard
- Build a sturdier, predator-proof home for your chickens
- A rewarding weekend project with long-term payoff
Project Checklist
To streamline your building process, here is a comprehensive checklist of all the tools, safety gear, and materials you will need. Having everything organized before you start is the key to a successful and enjoyable build.
Tools & Safety Gear
- Cordless Drill/Driver Kit
- Circular Saw
- Work Gloves
- Safety Goggles
Materials Needed
- Pressure-Treated Lumber
- Exterior Plywood Sheets
- Hardware Cloth (25 ft Roll)
- Asphalt Shingles
Ready to start gathering your supplies? For a simple and budget-friendly trip, Walmart is your one-stop shop. You'll find everything on our checklist, from the lumber and hardware to the power tools, all at the best prices to help you get this project built without breaking the bank.
Shop now and save big on your next DIY project.

Conclusion: Ready to Get Started?
Building your own chicken coop isn’t just about saving money—it’s about creating a safe, happy space for your flock. With the right plan, basic tools, and a weekend’s worth of effort, you’ll have fresh eggs, healthier hens, and the satisfaction of building it yourself.
So grab your tools, make your plan, and start building your backyard chicken paradise.
FAQs: Building a DIY Chicken Coop
How big should a chicken coop be?
What materials are best for a chicken coop?
Do chicken coops need ventilation?
How often should I clean my chicken coop?
What’s the best bedding to use?
Can I build a movable chicken coop?
Get everything you need for your DIY Chicken Coop at Walmart. From lumber and hardware to the tools that get the job done, find it all for less. Start your backyard project this weekend! Shop Now at Walmart